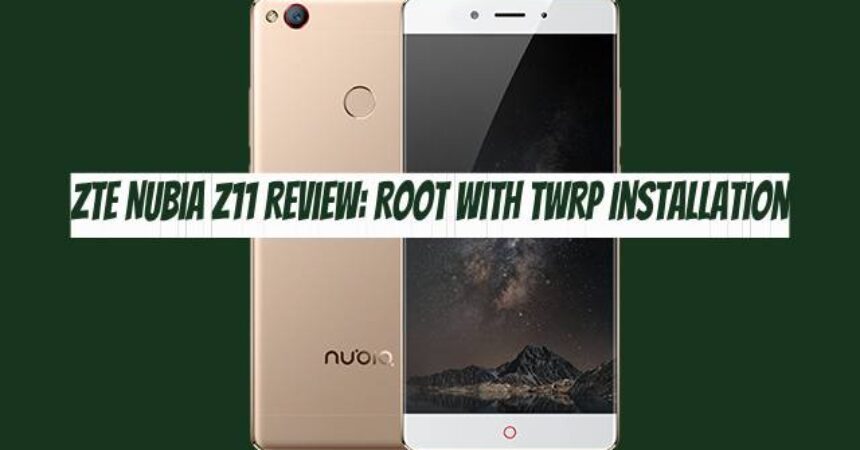
ZTE Nubia Z11 review users now can install TWRP custom recovery and root their smartphones. By utilizing TWRP and gaining root access, users can significantly enhance their Android experience. Follow the guide to successfully install TWRP and root your ZTE Nubia Z11 device.
Before delving into the guide, let’s provide a brief overview of the smartphone. ZTE introduced the Nubia Z11 in June of the previous year. This device boasts a 5.5-inch display with Full HD resolution, powered by a Qualcomm Snapdragon 820 CPU and Adreno 530 GPU. The Nubia Z11 was equipped with either 4GB or 6GB of RAM and 64GB of internal storage. Running on Android 6.0.1 Marshmallow upon release, it housed a 3000 mAh battery.
As we prepare to install the TWRP recovery and root your device, it is crucial to understand how this process can elevate your Android experience. Custom recoveries such as TWRP enable you to flash custom ROMs, back up essential phone components, and utilize advanced options like wiping cache, dalvik cache, and specific partitions. Root access empowers users to implement new features, improve performance, and enhance battery life on their smartphones. Let’s proceed with the following steps.
Disclaimer: Performing actions like flashing custom recoveries, custom ROMs, and rooting your device carries the risk of bricking it. Follow the steps in this guide carefully to avoid mishaps. Neither the manufacturers nor the developers can be held responsible for any issues that may arise.
Safety Measures & Readiness
- This tutorial is specifically for the ZTE Nubia Z11. Please do not attempt this procedure on any other device, as it may lead to bricking.
- Ensure your phone has a minimum battery level of 80% to prevent any power-related interruptions while flashing.
- Safeguard your important data by backing up contacts, call logs, SMS messages, and media content.
- Enable USB debugging and OEM Unlocking on your ZTE Nubia Z11 in Developer Options after unlocking the feature by tapping Build Number in Settings.
- Access your phone’s dialer and enter #7678# to bring up a screen where you can enable all available options.
- Connect your phone to your PC using the original data cable.
- Follow these instructions precisely to prevent any errors.
Essential Downloads & Setups
- Download and set up ZTE USB drivers.
- Download and set up Minimal ADB & Fastboot drivers.
- Download the file Z11_NX531J_TWRP_3.0.2.0.zip, extract it on your computer’s desktop, and find the file 2.努比亚Z11_一键刷入多语言TWRP_3.0.2-0.exe.
ZTE Nubia Z11 Review: Root with TWRP Installation Guide
- Connect your ZTE Nubia Z11 to your PC and choose the “Charging only” mode
- Launch the TWRP_3.0.2.0.exe file that you downloaded earlier.
- In the command window, select option 1 and press Enter to install Qualcomm USB drivers on your computer.
- Once the drivers are installed, enter 2 and press Enter to install TWRP recovery on your phone.
- To root the phone, unplug it from your PC and boot into TWRP by holding down the Volume Up and Power keys simultaneously.
- Within TWRP recovery, navigate to Advanced > Stalence tools > Root/Unroot to root or unroot the phone.
That’s it. I trust that you found this guide to be effective.
Feel free to ask questions concerning this post by writing in the comment section below.


