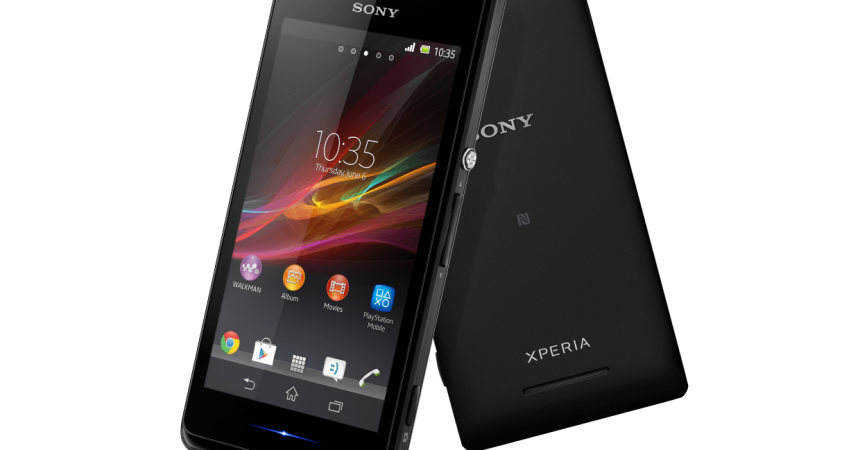
Root And Install CWM 6 Recovery On A Sony Xperia M
Sony has released an official update to Android 4.3 Jelly Bean based on build number 15.4.A.1.9 for the Sony Xperia M C1904/C1905. If your one of those who have updated their device, and you are an Android power user, you are probably now looking for a way to go beyond the boundaries of this firmware. To do so, you will need to root and install a custom recovery on your Sony Xperia M C1904/C1905.
In this post, we’re going to show you how to install ClockworkMod 6 recovery and root the Sony Xperia M C1904/C1905 that is running on latest Android 4.3 Jelly Bean 15.4.A.1.9. Before we begin, let’s look at why you might want to have custom recovery and root your device.
Custom Recovery:
- Custom recovery allows for the installation of custom roms and mods
- Allows you to make a Nandroid backup which is a copy of your phones current system.
- Allows you to flash SuperSu.zip file
- Allows you to wipe cache and dalvik cache
Rooting:
- Rooting gives you complete access over phone data which would otherwise be locked by manufacturers.
- You can remove factory restrictions and make changes to the devices internal systems and operating systems.
- You will be able to install apps to enhance the performance of your device and upgrade its battery life.
- You will be able to install apps which need root access
- You will be able to remove built-in apps and programs
- You can use mods, flash custom recoveries and ROMS
Prepare your phone:
- The CWM recovery in this guide is for use with the Xperia M C1904/C1905 running stock or stock based Android 4.3 Jelly Bean 15.4.A.1.9 firmware. Check by going to Settings>About Device
- Install Android ADB and Fastboot drivers
- Ensure that your device has an unlocked bootloader.
- Have your phone’s battery charged to at least over 60 percent.
- Backup your important contacts, call logs, and SMS messages.
- Backup your important media content manually by copying it to your PC.
- Enable your devices USB debugging mode. Go to Settings>Developer Options>USB Debugging more
- Have an OEM data cable that can establish a connection between the phone and a PC.
Note: The methods needed to flash custom recoveries, roms and to root your phone can result in bricking your device. Rooting your device will also void the warranty and it will no longer be eligible for free device services from manufacturers or warranty providers. Be responsible and keep these in mind before you decide to proceed on your own responsibility. In case a mishap occurs, we or the device manufacturers should never be held responsible.
Install CWM 6.0.4.9 Recovery on Xperia M C1904/C1905:
- Download XM 4.3 CWM 6.0.4.9.img.
- Rename downloaded file to boot.img
- Place renamed imgfile in Minimal ADB & Fastboot folder.
- If you have the Android ADB and Fastboot full package, place the downloaded Recovery.img file in Fastboot folder or in Platform-tools folder.
- Open the folder where Boot.img file was placed.
- Press and hold down the shift key and then right click on an empty area in the folder. Click on “Open Command Window Here”.
- Turn off the device
- While pressing the volume up key plug in the USB cable.
- If you see blue light in your phones notification light of your phone, your device was successfully connected in Fastboot mode.
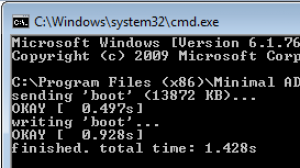
- Now type the following in the command window: fastboot flash boot boot.img
- Hit Enter CWM 6.0.4.9 recovery will flash.
- Once the recovery is flashed, issue command “Fastboot reboot”
- The device will reboot now
- When you see the Sony logo and a pink LED, press the volume up key to enter recovery.
- You should now see custom recovery.
Root Xperia M Running Android 4.3 15.4.A.1.9 Firmware:
- Download SuperSu.zip.
- Copy downloaded .zip file to phone’s sd card.
- Boot into CWM recovery.
- In recovery, select Install >Choose Zip from SDcard > SuperSu.zip > Yes
- Wait for recovery to flash SuperSu.zip, once finished reboot device.
- Check SuperSu in app drawer.
How to install busybox now?
- On your phone, go to Google Play Store.
- Search “Busybox Installter”.
- When you find it, install it.
How to check if the device is properly rooted or not?
- Go to Google Play Store on your phone
- Find and install it “Root Checker”.
- Open Root Checker.
- Tap “Verify Root”.
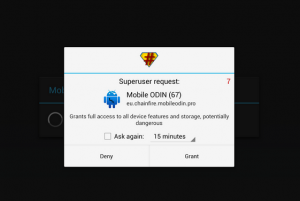
- You will be asked for SuperSu rights, tap Grant.
- It will see Root Access Verified Now
Have you installed a custom recovery and rooted your Xperia M?
Share your experience in the comments box below.
JR
