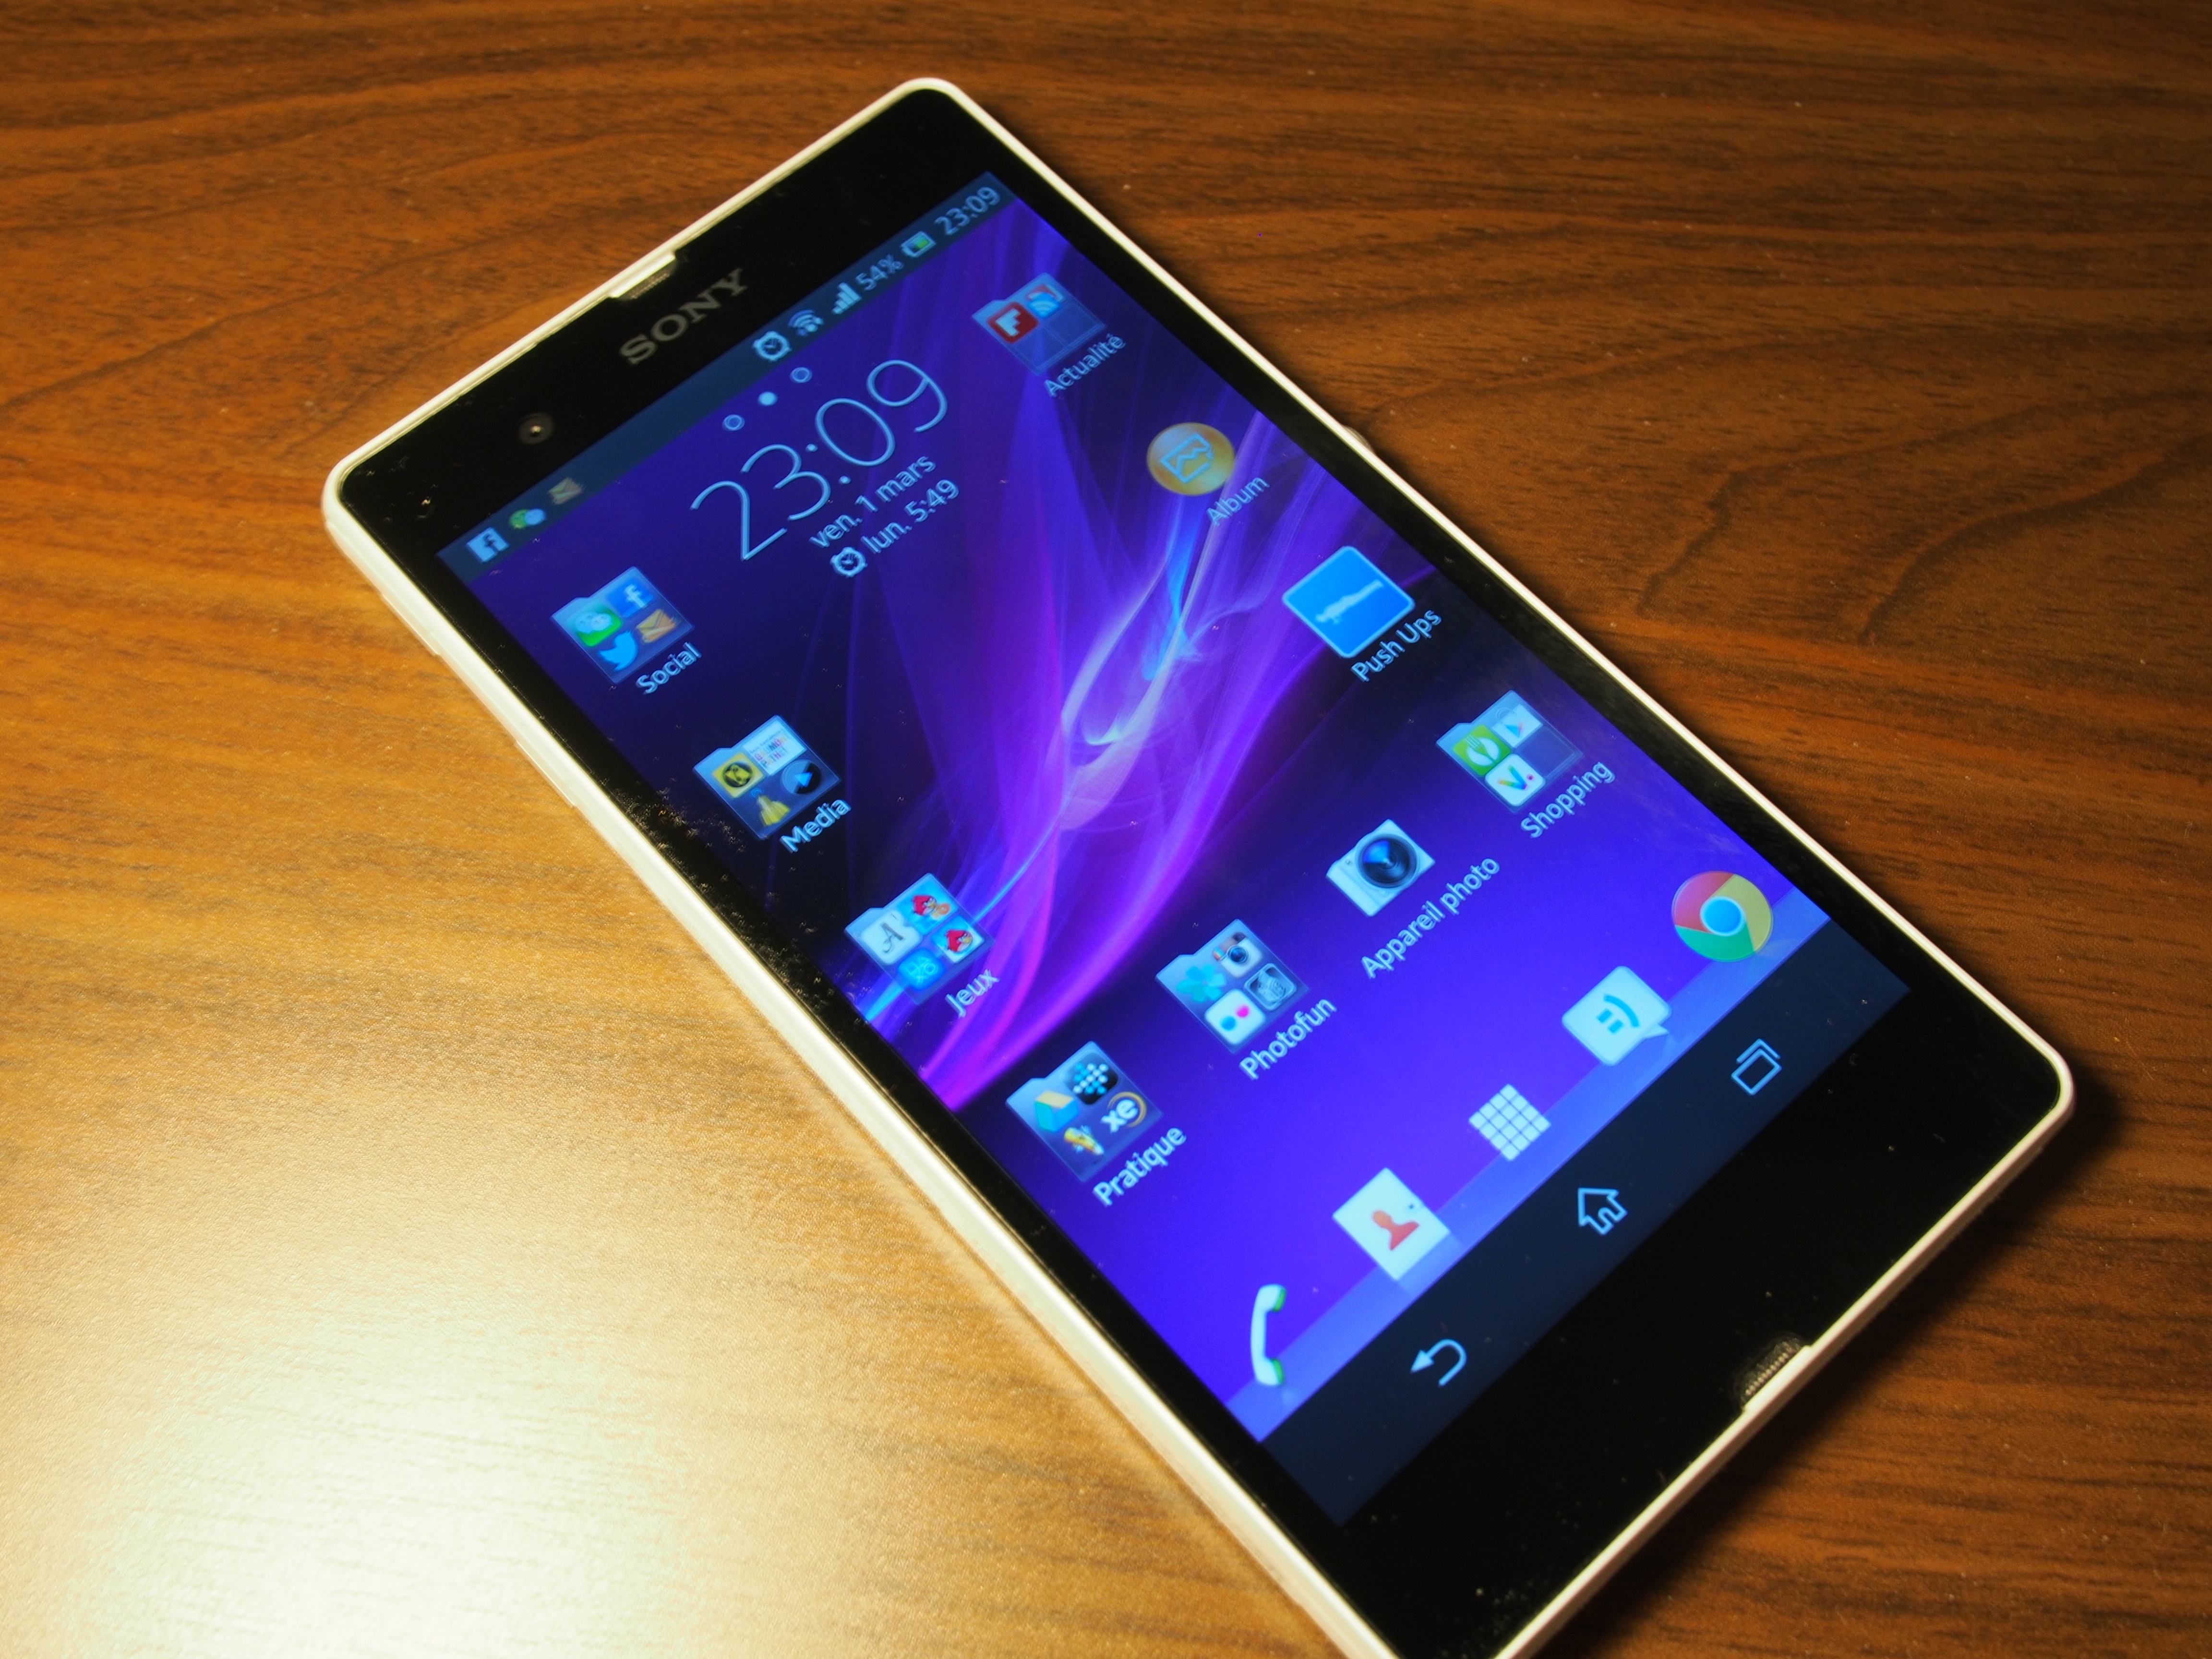
Sony Xperia Z 5.0 software updates ended at Android 5.1.1 due to hardware limitations. However, custom ROM developers have made it viable with Android 7.1 Nougat, making Sony Xperia Z 5.0 still cherishable. If you have one lying unused, it’s time to wipe the dust off and update to Android 7.1 Nougat.
Enjoy the CyanogenMod 14.1 custom ROM on your Xperia Z and upgrade to Android 7.1 Nougat with our expert instructions. No worries if you’re inexperienced; we’ll guide you through the process.

The firmware is currently in beta and may contain a few bugs, but experiencing the latest Android version outweighs the minor problems. Let’s move on to our main topic – the tutorial for installing Android 7.1 Nougat on Xperia Z via CyanogenMod 14.1 custom ROM.
Preventative Actions
- Please note that this guide is for Xperia Z only. Do not attempt it on any other device.
- To avoid power issues during the flash process, ensure your Xperia Z is charged to at least 50%.
- Install a custom recovery for your Xperia Z.
- Take a backup of all data including contacts, call logs, SMS messages, and bookmarks. It’s also recommended to create a Nandroid backup.
- Strictly follow this guide to prevent any mishaps.
Please note that custom recoveries, ROMs, and rooting methods can be highly custom and may cause your device to brick. This has nothing to do with Google or the device manufacturer (SONY in this case). Rooting also voids your device’s warranty, making it ineligible for free services. We are not responsible for any mishap that may occur.
Sony Xperia Z 5.0 Android 7.1 via CyanogenMod 14.1.
- Download the Android 7.1 Nougat CM 14.1 ROM.zip.
- Download Gapps.zip [ARM-7.1-pico package] for Android 7.1 Nougat.
- Copy both .zip files to Xperia Z’s internal or external SD card.
- Start the Xperia Z in custom recovery mode, specifically TWRP, if you have already installed dual recovery following the provided guide.
- Perform a factory reset in TWRP recovery using the wipe option.
- Return to the TWRP recovery main menu and choose “Install”.
- Choose the ROM.zip file under “Install”, scroll down, and flash it.
- Head back to the TWRP recovery menu and flash the Gapps.zip file following the instructions mentioned above.
- After flashing both files, wipe the cache and Dalvik cache using the wipe option.
- Reboot the device into the system.
- That’s it. Your device should now boot into CM 14.1 Android 7.1 Nougat.
If you encounter any issues, you can restore the Nandroid backup or flash a stock ROM using our detailed guide for Sony Xperia.
Feel free to ask questions concerning this post by writing in the comment section below.


