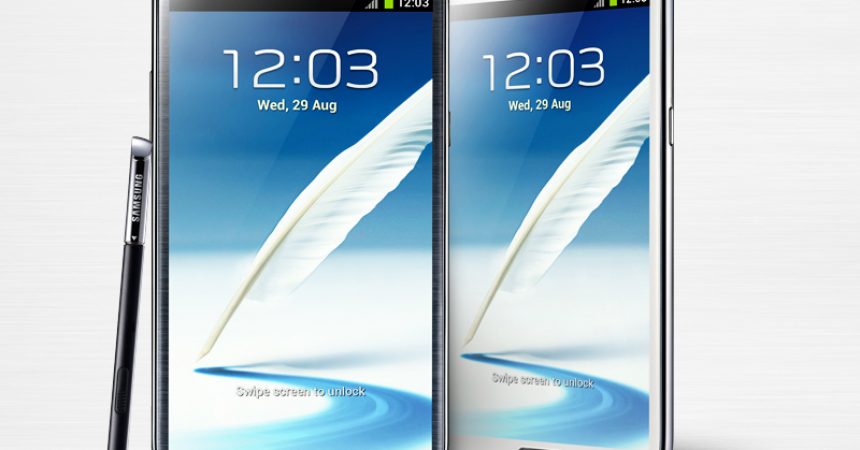
Upgrade Samsung Galaxy Note 2 N7100
The Samsung Galaxy Note N7100 was recognized with awards for best gadget and best innovation, but unfortunately the device will no longer receive OS updates from Samsung. Therefore, users of this device can get the latest version of Android through custom Support, and thankfully, they can install Android 5.0 Lollipop through CyanogenMod 12. Since it is an unofficial version of Android 5.0 Lollipop, it is normal to expect bugs and some issues with the version. Here are some observations:
- Some users reported issues with the GPS and data connection, although this works fine for other users.
- Google Camera fix and Data Fix is available
This article will provide you with a step by step guide to upgrade your Samsung Galaxy Note 2 to Android 5.0 Lollipop using CyanogenMod 12. Before beginning the installation process, here are some notes that you have to consider:
- This step by step guide will only work for Samsung Galaxy Note 2 N7100. If you are not sure about your device model, you may check it by going to your Settings menu and clicking ‘About Device’. Using this guide for another device model may cause bricking, so if you are not a Galaxy Note 2 user, do not proceed.
- Your remaining battery percentage should not be less than 60 percent. This will prevent you from having power issues while the installation is ongoing, and therefore will prevent soft bricking of your device.
- Backup all of your data and files to avoid losing them, including your contacts, messages, call logs, and media files. This will ensure that you will always have a copy of your data and files. If your device is already rooted, you may use Titanium Backup. If you already have an installed TWRP or CWM custom recovery, you may use Nandroid Backup.
- Also backup your mobile’s EFS
- Your Samsung Galaxy Note 3 should be rooted
- You need to flash TWRP or CWM custom recovery
- Download CyanogenMod 12
- Download Android 5.0 GApps
Note: The methods needed to flash custom recoveries, roms and to root your phone can result in bricking your device. Rooting your device will also void the warranty and it will no longer be eligible for free device services from manufacturers or warranty providers. Be responsible and keep these in mind before you decide to proceed on your own responsibility. In case a mishap occurs, we or the device manufacturers should never be held responsible.
Step by Step Installation Guide:
- Connect your Samsung Galaxy Note 2 to your computer or laptop
- Copy the downloaded zip files to the root of your device’s SD card
- Remove your phone’s connection from your computer or laptop by disconnecting your cable
- Shut down your Galaxy Note 2
- Open Recovery Mode by simultaneously pressing and holding the home, power, and volume up buttons until a text appears on the screen.
For CyanogenMod Recovery Users:
- Through the Recovery Mode, back up your ROM
- Go to ‘Back-up and Restore’ then click ‘Back-up’
- Return to the Main Screen as soon as the ROM has been backed up successfully
- Go to ‘Advance’
- Click ‘Wipe Dalvik Cache’
- Choose ‘Wipe Data / Factory Reset’
- Go to ‘Install zip from SD card’ and wait for the pop up window to appear
- Go to ‘Options’ and click ‘Choose zip from SD card’
- Choose the zip file ‘CM 12’ and allow the installation to continue
- Return and flash the zip file for GApps
- Select ‘Go Back’ as soon as the installation has been completed.
- Restart your system by clicking ‘Reboot Now’
For TWRP Users:
- Click ‘Back-Up’
- Choose ‘System and Data’, then swipe the confirmation slider
- Press the Wipe Button and click ‘Cache, System, Data’ then swipe the confirmation slider
- Return to the main menu and click ‘Install’
- Look for the zip files ‘CM 12’ and ‘Gapps’, then swipe the confirmation slider to start the installation
- Press ‘Reboot Now’ to restart your device
In case of Signature Verification Error, here’s how you can solve it:
- Open your Recovery
- Go to ‘Install zip from SD card’
- Go to ‘Toggle Signature Verification’. Click the power button to check if it is enabled or disabled. Make sure that it is disabled.
- Install the zip
That’s it! If you have additional questions regarding the installation process, do not hesitate to ask through the comments section. Note that you must let your Galaxy Note 2 N7100 to rest for at least five minutes before you try out the features.
SC
[embedyt] https://www.youtube.com/watch?v=-P76BgDb_vw[/embedyt]


