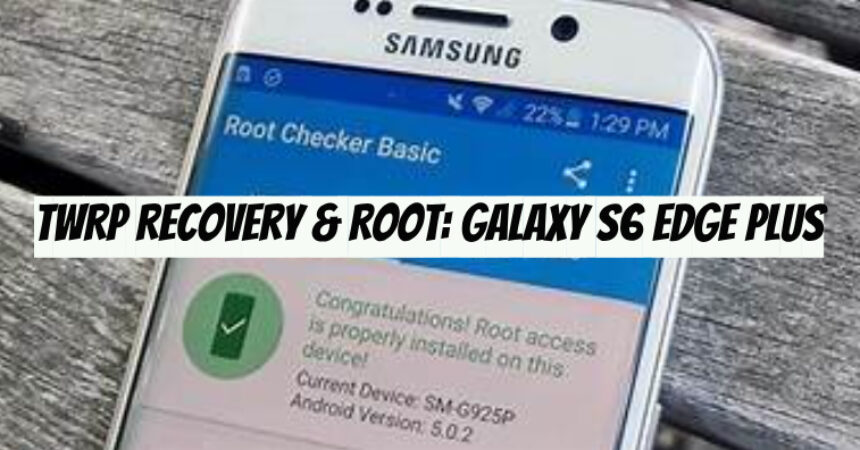
TWRP Recovery & Root: Galaxy S6 Edge Plus. The latest version of TWRP custom recovery is compatible with the Galaxy S6 Edge Plus, along with all its variants running Android 6.0.1 Marshmallow. So, for those seeking an efficient method to install a custom recovery and root their phone, you have come to the right place. In this post, we will guide you through the easiest way to install TWRP recovery and root your Galaxy S6 Edge Plus.
Preparing in Advance: A Guide
- To avoid problems while flashing your Galaxy S6 Edge Plus, adhere to two crucial steps. Firstly, ensure your device has at least 50% battery to prevent power-related issues. Secondly, check your device’s model number by navigating to “Settings” > “More/General” > “About Device.”
- Make sure to activate both the OEM Unlocking and USB debugging mode on your phone.
- In case you do not have a microSD card, you will need to utilize the MTP mode while booting up into TWRP recovery to copy and flash the SuperSU.zip file. It is recommended to obtain a microSD card to ease the process.
- Prior to wiping your phone, make sure to back up your essential contacts, call logs, SMS messages, and media content to your computer.
- When using Odin, uninstall or disable Samsung Kies since it can interfere with the connection between your phone and Odin.
- To establish a connection between your computer and phone, use the factory-provided data cable.
- Ensure precise compliance with these instructions to prevent any malfunction during the flashing process.
Modifying your device by rooting, flashing custom recoveries, or any other means is not advised by device manufacturers or OS providers.
How to Download and Install Files
- Instructions and Download Link for Installing Samsung USB Drivers on Your PC.
- Extract and download Odin 3.12.3 on your computer with instructions.
- Carefully download the TWRP Recovery.tar file based on your device.
- Get the download link for TWRP Recovery compatible with International Galaxy S6 Edge Plus SM-G928F/FD/G/I.
- Download TWRP Recovery for the SM-G928S/K/L version of the Korean Galaxy S6 Edge Plus.
- Download the TWRP Recovery for the Canadian model of the Galaxy S6 Edge Plus, SM-G928W8.
- You can download the TWRP Recovery for the T-Mobile variant of the Galaxy S6 Edge Plus with the model number SM-G928T.
- You can obtain the TWRP Recovery for the Sprint Galaxy S6 Edge Plus with the model number SM-G928P by downloading it.
- You can download the TWRP Recovery for the US Cellular Galaxy S6 Edge Plus with the model number SM-G928R4.
- You can download the TWRP Recovery for the Chinese variants of the Galaxy S6 Edge Plus, including SM-G9280, SM-G9287, and SM-G9287C.
- To install SuperSU.zip on your device after installing TWRP recovery, transfer it to your external SD card. If you don’t have one, save it to internal storage instead.
- To install the “dm-verity.zip” file, download it and transfer it to your external SD card. Alternatively, if you have one, copy both “.zip” files to a USB OTG (On-The-Go) device.

TWRP Recovery & Root on Samsung Galaxy S6 Edge Plus:
- Launch the ‘Odin3.exe‘ program from the extracted Odin files you downloaded previously.
- To begin, enter download mode on your Galaxy S6 Edge Plus. Turn your phone off, then press and hold the Volume Down + Power + Home buttons to power it up. Release the buttons as soon as the “Downloading” screen appears.
- Now connect your Galaxy S6 Edge Plus to your computer. If the connection is successful, Odin will display a message saying “Added” in the logs and show a blue light in the ID:COM box.
- You need to carefully select the TWRP Recovery.img.tar file according to your device by clicking on the “AP” tab in Odin.
- Ensure that the only option selected in Odin is “F.Reset Time“. Make sure you do not select the “Auto-Reboot” option to prevent the phone from rebooting after the TWRP recovery has been flashed.
- After selecting the correct file and checking/unchecking the necessary options, hit the start button. Within a few moments, Odin will display a PASS message indicating that TWRP has been successfully flashed.
Continuation:
- After completing the process, now disconnect your device from your PC.
- To boot directly into TWRP Recovery, power off your phone, then press and hold the Volume Up + Home + Power keys all at once. Your phone will boot into the installed customized recovery.
- To allow changes, swipe right when prompted by TWRP. While activating dm-verity is essential, disabling it is critical as it can hinder your phone from being rooted or booted. Make sure to turn it off immediately as system files need to be modified.
- Select “Wipe,” then “Format Data,” and type “yes” to disable encryption. However, keep in mind that this will reset all settings to factory default, so it’s crucial to backup all data before performing this step.
- Afterwards, return to the primary menu in TWRP Recovery and click on “Reboot > Recovery“. This will cause your phone to restart in TWRP, once again.
- Make sure you’ve transferred SuperSU.zip and dm-verity.zip files to your external SD Card or USB OTG. If you haven’t, use MTP mode in TWRP to move them to your external SD Card. Afterward, choose the SuperSU.zip file’s location by accessing “Install” in TWRP to begin installing it.
- Now, select the “Install” option, locate the “dm-verity.zip” file and flash it again.
- After completing the flashing process, reboot your phone to the system.
- You have successfully rooted your phone and installed TWRP recovery. Wish you good luck!
That’s it! You have successfully rooted your Galaxy S6 Edge Plus and installed TWRP recovery. Don’t forget to create a Nandroid backup and backup your EFS partition. With this, you can maximize your device’s full capability.
Feel free to ask questions concerning this post by writing in the comment section below.


