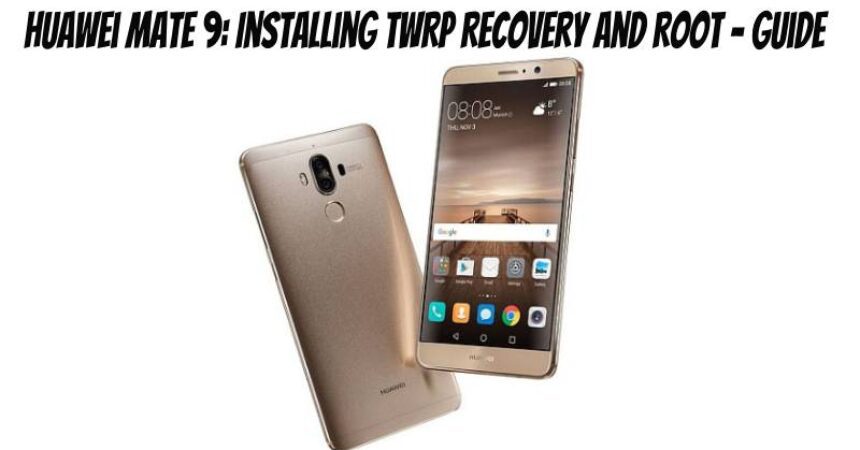
Huawei Mate 9 is one of Huawei’s finest smartphones, featuring a 5.9-inch Full HD display, running Android 7.0 Nougat with EMUI 5.0. It is powered by a Hisilicon Kirin 960 Octa-core CPU, Mali-G71 MP8 GPU, and has 4GB of RAM with 64GB internal storage. The phone boasts a 20MP, 12MP dual-camera setup on the back and an 8MP shooter on the front. With a 4000mAh battery, it ensures reliable power throughout the day. Huawei Mate 9 has gained attention from developers, bringing plenty of great features to the device.
Unlock the full potential of your Huawei Mate 9 with the latest TWRP Recovery. Flash ROMs, and MODs, and customize your device like never before. Back up every partition, including Nandroid and EFS, effortlessly with TWRP. Plus, root your Mate 9 for access to powerful root-specific apps like Greenify, System Tuner, and Titanium Backup. Elevate your Android experience with new features using Xposed Framework. Follow our detailed guide to install TWRP recovery and root the Huawei Mate 9.
Prior Arrangements
- This guide is specifically designed for Huawei Mate 9 users. It is strongly advised not to attempt this method on any other device as it may lead to the device being bricked.
- To prevent any power-related problems during the flashing process, ensure that your phone’s battery is charged to at least 80%.
- To play it safe, back up all your important contacts, call logs, text messages, and media content before proceeding.
- To enable USB debugging mode on your phone, go to Settings > About Device > tap build number seven times. Then, open developer options and enable USB debugging. If available, also enable “OEM Unlocking“.
- Ensure you use the original data cable to establish a connection between your phone and PC.
- Follow this guide closely to prevent any mishaps.
Disclaimer: Rooting the device and flashing custom recoveries are customized processes not recommended by the device manufacturer. The device manufacturer is not liable for any issues that may occur. Proceed at your own risk.
Necessary Downloads & Installations
- Please proceed with downloading and installing the USB drivers for Huawei.
- Please download and install the Minimal ADB & Fastboot drivers.
- After unlocking the bootloader, download the SuperSu.zip file and transfer it to your phone’s internal storage.
Unlocking the Bootloader of Huawei Mate 9: A Step-by-Step Guide
- Please note that unlocking the bootloader will result in the wiping of your device. It is crucial to back up all your data before proceeding.
- To obtain the bootloader unlock code, install Huawei’s HiCare app on your phone and contact support through the app. Request the unlock code by providing your email, IMEI, and serial number.
- After requesting the bootloader unlock code, Huawei will send it to you via email within a few hours or days.
- Ensure Minimal ADB & Fastboot drivers are installed on your Windows PC or Mac.
- Now, establish a connection between your phone and PC.
- Open “Minimal ADB & Fastboot.exe” on your desktop. If it’s not there, navigate to C drive > Program Files > Minimal ADB & Fastboot and open a command window.
- Enter the following commands one by one in the command window.
- adb reboot-bootloader – This will restart your Nvidia Shield in bootloader mode. After it boots up, enter the following command.
-
- fastboot devices – This command will confirm the connection between your device and PC in fastboot mode.
-
- fastboot oem unlock (bootloader unlock code) – Enter this command to unlock the bootloader. Confirm the unlocking on your phone using the volume keys.
-
- fastboot reboot – Use this command to reboot your phone. Once completed, you can disconnect your phone.
Huawei Mate 9: Installing TWRP Recovery and Root – Guide
- Download the “recovery.img” file specifically for the Huawei Mate 9. To simplify the process, rename the downloaded file to “recovery.img”.
- Copy the “recovery.img” file and paste it into the Minimal ADB & Fastboot folder, which is usually located in the Program Files folder on your Windows installation drive.
- Now, follow the instructions provided in step 4 to boot your Huawei Mate 9 into fastboot mode.
- Please establish a connection between your Huawei Mate 9 and your PC.
- Now, open the Minimal ADB & Fastboot.exe file, as described in step 3.
- Enter the following commands in the command window:
- fastboot reboot-bootloader
- fastboot flash recovery recovery.img.
- fastboot reboot recovery or use the Volume Up + Down + Power combination to get into TWRP now.
- This command will initiate the booting process of your device into TWRP recovery mode.
Rooting Huawei Mate 9 – Guide
- Download and transfer phh’s superuser to the internal storage of your Mate 9.
- Use the combination of the volume and power buttons to boot your Mate 9 into TWRP recovery mode.
- Once you are on the main screen of TWRP, tap on “Install” and then locate the recently copied Phh’s SuperSU.zip file. Proceed to flash it by selecting it.
- After successfully flashing SuperSU, proceed to reboot your phone. Congratulations, you have completed the process.
- After your phone has finished booting up, proceed to install the phh’s superuser APK, which will manage the root permissions on your device.
- Your device will now begin the booting process. Once it has started up, locate the SuperSU app in the app drawer. To verify root access, install the Root Checker app.
Create a Nandroid Backup for your Huawei Mate 9 and learn how to use Titanium Backup now that your phone is rooted. If you need assistance, leave a comment below.
Feel free to ask questions concerning this post by writing in the comment section below.


