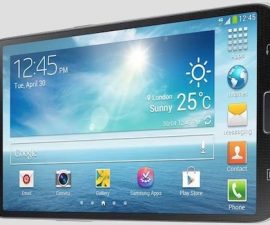
The LG G Pad 7.0
If you own a LG G Pad 7.0 and you want to explore the world of Android customization, you need both root access and custom recovery.
Root access will allow your G Pad 7.0 to explore it’s root directory and load root required applications that can enhance the device’s capabilities. Custom recovery does similar for your device’s boot menu. You will be able to flash tweaks, MODs, custom ROMs and create or restore Nandroid backup.
When we talk about custom recoveries, two big names come up CWM and TWRP. The latest version of TWRP, TWRP 2.8.5.0 is available for the LG G Pad 7.0 V400 and in this guide, we are going to show you how to flash TWRP 2.8.5.0 on a LG G Pad 7.0 using flashify.
Early Prep:
- Check your device’s model number by going to Settings > About Device > Model
- This guide is for LG G Pad 7 V400 and V410
- If that is not your model number, find another guide.
- Root the LG G Pad 7.0
- Download and Install Flashify
- Back up important data, contacts, text messages and call logs.
Note: The methods needed to flash custom recoveries, roms and to root your phone can result in bricking your device. Rooting your device will also void the warranty and it will no longer be eligible for free device services from manufacturers or warranty providers. Be responsible and keep these in mind before you decide to proceed on your own responsibility. In case a mishap
occurs, we or the device manufacturers should never be held responsible.
How-To Install: TWRP 2.8.5.0 On Your LG G Pad 7.0 V400 or V410
- Download one of the followingTWRP recovery.img files according to your device
- Copy downloaded recovery.img file to either the internal or external storage of the G Pad 7.0
- Open the Flashify application from the G Pad’s app drawer.
- Grant root permissions then go to Flashify’s main menue.
- Tap on Recovery Image then locate downloaded recovery.img file
- Follow the on-screen instructions to finish the flashing process.
- Flashify will allow the phone to be booted into recovery mode from the options that are located on the top right corner.
There, you should have successfully rooted and installed custome recovery on your G Pad.
Do you have a G Pad? Have you updated it?
What do you think?
Share your experience in the comments section box below
JR


Great helpful post,
just what I needed.
Cheers