
How To Use DarthStalker Custom ROM
The DarthStalker Jelly Bean Custom ROM is based on Android 4.3 UVUEMK2. This ROM works with the T-Mobile Galaxy S4 SGH-M919, giving the device a brand new look as well as UI. This ROM is also pre-rooted, so installing it gives you root access as well.
In this post, were going to show you how you can update your T-Mobile Galaxy S4 SGH-M919 by installing DarthStalker Jelly Bean. Follow along.
Prepare your device
- This ROM is only for the T-Mobile Galaxy S4 SGH-M919.
- Charge battery of device to at least over 60 percent to avoid running out of power before ROM finishes flashing.
- You need to have root access and either CWM or TWRP Custom Recovery already installed.
- You need to enable your device’s USB debugging mode.
- Back up the EFS partition of your device.
Note: The methods needed to flash custom recoveries, roms and to root your phone can result in bricking your device. Rooting your device will also void the warranty and it will no longer be eligible for free device services from manufacturers or warranty providers. Be responsible and keep these in mind before you decide to proceed on your own responsibility. In case a mishap occurs, we or the device manufacturers should never be held responsible.
Trouble Shooting:
If you get the signature verification failed error, take the following steps:
- Open in Recovery.
- Go to install zip from SD card

- Go to Toggle Signature Verification
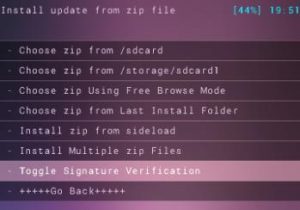
- Press the power button to see if signature verification is disabled. If it is not, disable it. You should now be able to install the zip file without errors.
Update T-Mobile Galaxy S4 SGH-M919 to Android 4.3 DarthStalker Jelly Bean Custom ROM
- Download Android 4.3 DarthStalker ROM onto your computer. Make sure the version you download is for a Galaxy S4.
- Turn your device off then turn it back on in recovery mode by pressing and holding the volume up, home and power buttons until you get some text on the screen.
- For the next steps, follow the ones for your specific custom recovery.
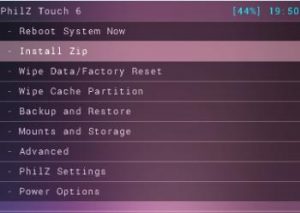
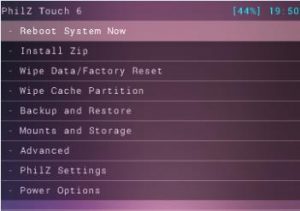
- For CWM/Philz Touch Recovery Users
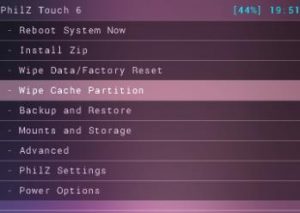
- Choose to wipe cache
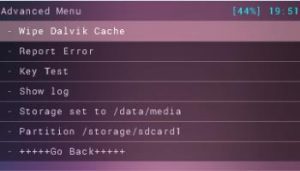
- For CWM/Philz Touch Recovery Users
- Go to advance and from there, choose to wipe dalvik cache
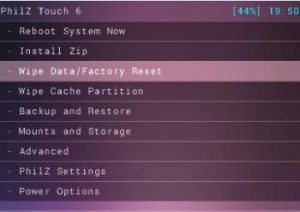
- Choose to wipe data/factory reset
- Choose to install zip from SD card. Another window should open in front of you

- Choose the option choose zip from SD card
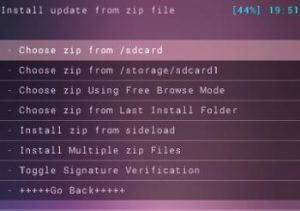
- Choose the DarthStalkerr.zip file. Confirm that you want to install it on the next screen.
- When installation is finished, choose +++++Go Back+++++
- Select reboot now and the system will reboot
- For TWRP Users
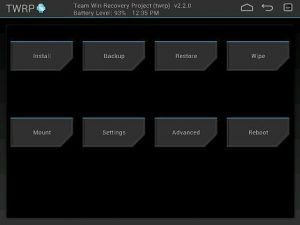
- Tap the wipe button and then select: cache, data, system.
- Swipe confirmation slider
- Return to the main menue. Tap on the install button
- Find the DarthStalker.zip file. Swipe slider to install the ROM.
- When installation is finished, you will be promted to reboot the system now.
- Select reboot now and the system will reboot.
After rebooting your system, your device should now be running this ROM. The first run might take 5-minutes to reboot, but after that it should come quicker.
Have you installed DarthStalker on your device?
Share your experience in the comments box below.
JR
[embedyt] https://www.youtube.com/watch?v=_ZPnsqKXIJA[/embedyt]


