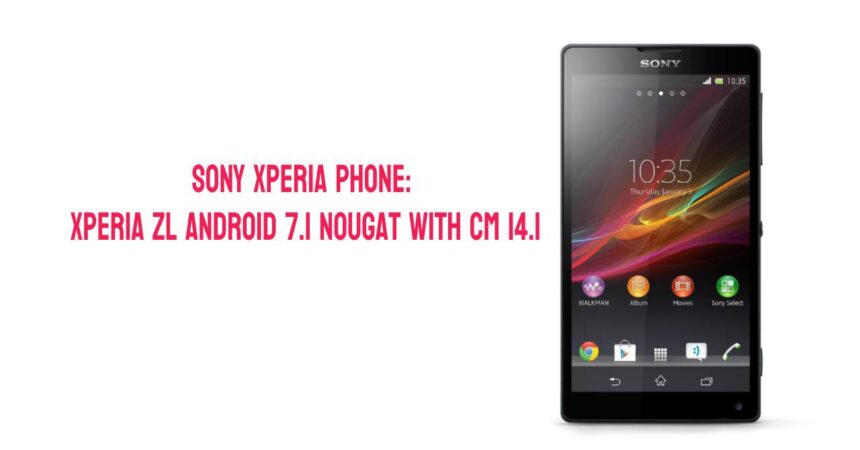
Sony Xperia Phone: Xperia ZL Android 7.1 Nougat with CM 14.1. The Xperia ZL, the sibling of Sony Xperia ZL, has received the blessing of CyanogenMod 14.1 Android 7.1 Nougat Custom ROM. Previously running Android 5.1.1 Lollipop with official software support ending there, Xperia ZL has since been updated to Android 6.0.1 Marshmallow and Android 7.0 Nougat through CyanogenMod custom ROMs. Now, you can flash the latest custom ROM and experience all the exciting features that Android 7.1 Nougat offers. Although the ROM is currently in the beta stage, it holds great potential to be used as a daily driver. To safely flash this ROM, you’ll need a functioning custom recovery and follow a few simple steps.
Ensure a successful installation of the Xperia ZL Android 7.1 Nougat CyanogenMod 14.1 Custom ROM by following this guide. It is vital to thoroughly review the early preparations before proceeding with the ROM flashing process.
- This guide is intended for Xperia ZL only. Do not try this on any other device.
- To prevent any power-related issues during the flashing process, make sure to charge your Xperia ZL device up to a minimum of 50%.
- Flash a custom recovery on your Xperia ZL.
- Backup all your data, including contacts, call logs, SMS messages, and bookmarks. Don’t forget to create a Nandroid backup.
- Follow this guide closely to avoid any mishaps.
Disclaimer: Flashing custom recoveries, ROMs, and rooting your device are highly customized procedures that may cause device damage. These actions void the warranty and we are not responsible for any mishaps that may occur.
Sony Xperia Phone: Xperia ZL Android 7.1 Nougat with CM 14.1 – Guide
- Download Android 7.1 Nougat CM 14.1 ROM.zip file.
- Download the Gapps.zip file [ARM – 7.1 – pico package] specifically for Android 7.1 Nougat.
- Transfer both .zip files to either the internal or external SD card of your Xperia ZL device.
- Start your Xperia ZL device in custom recovery mode. If you have previously installed dual recovery by following the linked guide, utilize TWRP recovery.
- While in TWRP recovery, navigate to the wipe option and perform a factory reset.
- Return to the main menu in TWRP recovery and choose the “Install” option.
- Within the “Install” menu, scroll down to the bottom and select the ROM.zip file. Proceed to flash this file.
- After completing the previous step, return to the TWRP recovery menu and flash the Gapps.zip file following the instructions provided in the previous step.
- After successfully flashing both files, proceed to the wipe option and perform a cache and dalvik cache wipe.
- Now, reboot your device into the system.
- You’re all set! Your device should now boot up in CM 14.1 Android 7.1 Nougat.
If any issues arise, you may want to consider restoring the Nandroid backup as a solution. Another option to fix a bricked device is to flash a stock ROM. We have a detailed guide on how to flash stock firmware on your Sony Xperia, which can be found here.
Feel free to ask questions concerning this post by writing in the comment section below.


