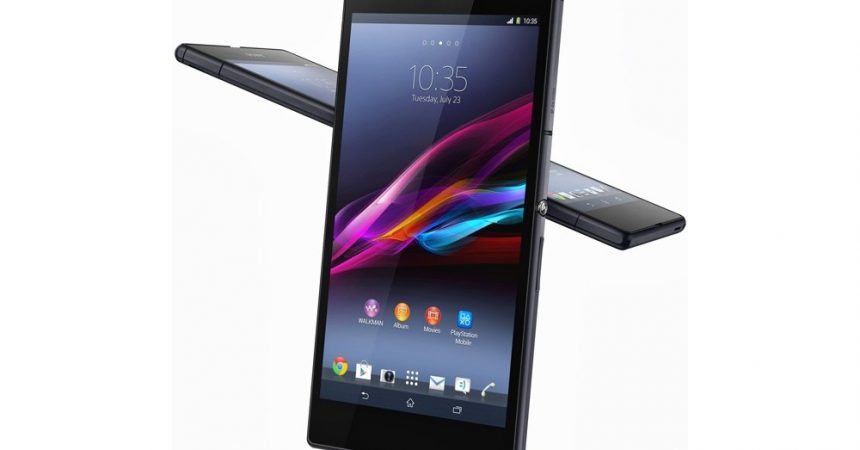
Root A Sony Xperia Z Ultra C6802/C6806/C6833
The latest firmware released for the Sony Xperia Z Ultra is based on Android 4.4.4 KitKat with build number 14.4.A.0.108. This update is being rolled out through different regions with Sony PC Companion and OTA.
If you have received this update or have manually updated your Xperia Z Ultra, then you’ve probably lost root access. If you would like to regain it, we have a method for you that will allow you to gain root access on the Xperia Z Ultra without unlocking your bootloader.
This guide will work to root a Sony Xperia Z Ultra C6802, C6806 and C6833 running Android 4.4.4 KitKat 14.4.A.0.108 firmware. Follow along.
Prepare your phone:
- This guide is for the Sony Xperia Z Ultra C6802, C6806 and C6833 The device also needs to be running Android 4.4.4 KitKat 14.4.A.0.108 firmware
- Install Sony USB drivers.
- Have your battery charged to at least over 60 percent.
- Enable USB debugging mode. You can do so by one of these two methods:
- Settings>Developer options>USB debugging.
- Settings>About device>Build number. Tap Build Number 7 times.
- Have an OEM data cable that you can use to connect the phone to a PC.
- Allow “Unknown Sources”. To do so, got to your phones settings, Security>Unknown Sources
Note: The methods needed to flash custom recoveries, roms and to root your phone can result in bricking your device. Rooting your device will also void the warranty and it will no longer be eligible for free device services from manufacturers or warranty providers. Be responsible and keep these in mind before you decide to proceed on your own responsibility. In case a mishap occurs we or the device manufacturers should never be held responsible.
Root Sony Xperia Z Ultra running 14.4.A.0.108 Firmware [BootloaderLocked]:
- Download EasyRoot Tool V7.zip file
- Extract file to get the install.bat file.
- Connect the Xperia Z Ultra to your PC.
- Run install.bat file.
- Follow on-screen instructions.
Install Busybox:
- On your phone, go to the Google Play Store.
- In the Google Play Store, look for Busybox installer
- When you find Busybox installer, install it.
- Run Busybox installer to get Busybox on your phone
Check that your phone is properly rooted:
- Go to the Google Play Store on your phone.
- In the Google Play Store, look for Root Checker.
- Install Root Checker
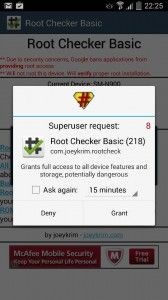
- Open Root Checker
- Tap Verify Root
- You will be asked for SuperSu rights, tap Grant
- You should now see Root Access Verified Now!

Have you rooted your Xperia Z Ultra?
Share your experience in the comments box below.
JR
[embedyt] https://www.youtube.com/watch?v=BkQT3nX5yWM[/embedyt]


