
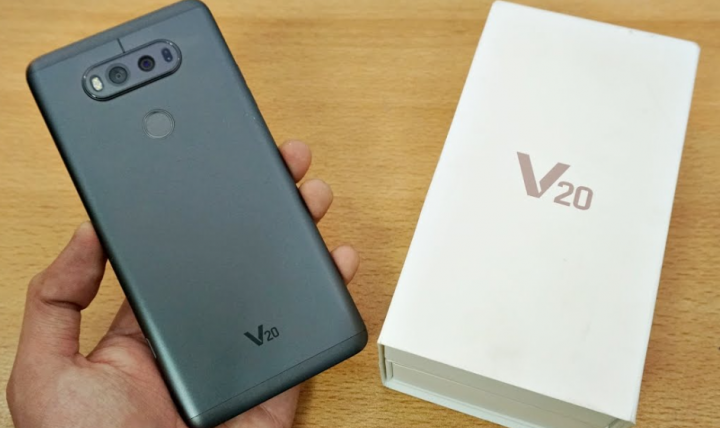
LG V20 second flagship device of 2016, the LG V20, has recently been rooted and now has a TWRP recovery installed. This development allows for a heightened Android Nougat experience on the V20. With root access, users can install specific root apps such as Greenify, Titanium Backup, and Ad Blockers, among others. Additionally, the TWRP recovery enables installation of the Xposed Framework and custom ROMs to unlock the full potential of the V20. The LG V20 is already a powerhouse device, but with these added features, it can reach an entirely new level.
Currently, the root and recovery solution only works with the H918 variant of the LG V20. Due to Google’s stricter policies on their Android OS, rooting and flashing TWRP requires extra effort. With the LG V20, traditional methods do not succeed, thus requiring careful adherence to each step to attain successful installation of TWRP and root. Check out the step-by-step guide we have prepared to learn how to root and install TWRP recovery on your LG V20 Android Nougat H918.
A few tasks to complete beforehand:
- As multiple data wipes are required throughout the process, it is highly recommended that you back up all of your phone’s data to ensure its safety.
- This highly customized process presents a risk of bricking your device and is not recommended for newcomers. Only Android power users should proceed with this method.
- Begin by downloading and installing the LG USB drivers on your computer. You can download the drivers for either Windows or Mac.
- Download and install Minimal ADB and Fastboot drivers on your PC. Mac users can use this tutorial for Mac OS X.
- Download all files from this page, and transfer them to the C:\Program Files (x86)\Minimal ADB and Fastboot folder (or the folder you have installed it in). Mac users should save the files to their corresponding ADB and Fastboot directory.
- No, first of all, we need to unlock the bootloader of the LG V20. Let’s have a look at the method now.
Unlock the Bootloader of the LG V20
- Activate USB debugging mode on your LG V20 by navigating to Settings > About Device > Software Info, and tapping the build number seven times to enable Developer Options. Once enabled, proceed to Developer Options and activate the USB debugging mode.
- Activate OEM unlocking from developer options in settings.
- Connect the LG V20 to your PC and grant permission to the ADB and Fastboot mode that the phone is requesting. Ensure that you connect your phone in PTP mode.
- Open the command window on your computer by either navigating to C:\Program Files (x86)\Minimal ADB and Fastboot, then pressing and holding the Shift key while right-clicking on an empty area within the folder, and selecting “Open command window here.” Alternatively, you can use the Minimal ADB and Fastboot.exe file if you have created a desktop shortcut.
- Enter the following commands one by one in the command window now.
- adb reboot bootloader
- Once your phone boots up in bootloader mode, proceed with entering the next command.
- fast boot or unlock
- Keep in mind that executing this command will result in the complete wipe of your phone and unlocking the bootloader.
- fastboot getvar all
- When executed, this command should return “Bootloader unlocked: yes.”
- fastboot reboot
- After entering this command, your phone should reboot normally.
- adb reboot bootloader
- Great, you’re now prepared for the next step.
Pre-install a Recovery before TWRP Flash
- Get all the recovery binaries by downloading them from this page.
- Copy all the downloaded files to the previously mentioned Minimal ADB and Fastboot folder.
- Once you have copied all the files, reopen the command window from the ADB and Fastboot folder.
- Boot your system into adb and fastboot mode again, then execute all of these commands.
| adb push dirty cow /data/local/tmp adb push recovery-apply patch /data/local/tmp adb push recovery-app_process64 /data/local/tmp adb push recovery-run-as /data/local/tmp adb shell $ cd /data/local/tmp $ chmod 0777 * $ ./dirtycow /system/bin/apply patch recovery-apply patch “<wait for completion>” $ ./dirtycow /system/bin/app_process64 recovery-app_process64 “<wait for completion, your phone will look like it’s crashing>” $ exit adb logcat -s recovery “<wait for it to tell you it was successful>” “[CTRL+C]” adb shell reboot recovery “<wait for the phone to boot up again, your recovery will be reflashed to stock>” adb shell $ getenforce “<it should say Permissive, adjust the source and build for your device!>” $ cd /data/local/tmp $ ./dirtycow /system/bin/run-as recovery-run-as $ run-as exec ./recowvery-apply patch boot “<wait for it to flash your boot image this time>” $ run-as su # “<play around in your somewhat limited root shell full of possibilities>” Do not restart your device at this point. |
Flash TWRP and Root LG V20
- Acquire the TWRP recovery.img file and save it to the Minimal ADB and Fastboot folder.
- Download and save the SuperSU.zip file. Alternatively, avoid the trouble of copying files by getting a USB OTG to directly transfer to it.
- Make sure that you have completed all of the pre-installation recovery steps.
- Enter the following commands in the command window.
| adb push twrp-3.0.2-0-beta4-h918.img /sd card/twrp.img adb shell $ run-as exec dd if=/sdcard/twrp.img of=/dev/block/boot device/by-name/recovery “<wait for it to complete>” $ reboot recovery |
- As TWRP boots up, it will ask if you will allow system modifications. Swipe yes to permit them.
- After connecting the USB OTG, mount it and select Install. From there, locate the SuperSU.zip file and flash it.
- Once SuperSU.zip is flashed, return to the TWRP main menu and select Wipe, then Format Data to prevent encryption.
- Reboot your device, and it should now be rooted with SuperSU installed. That’s it!
Learn more How to Download USB Drivers for LGUP, UPPERCUT and LG.
Feel free to ask questions concerning this post by writing in the comment section below.


