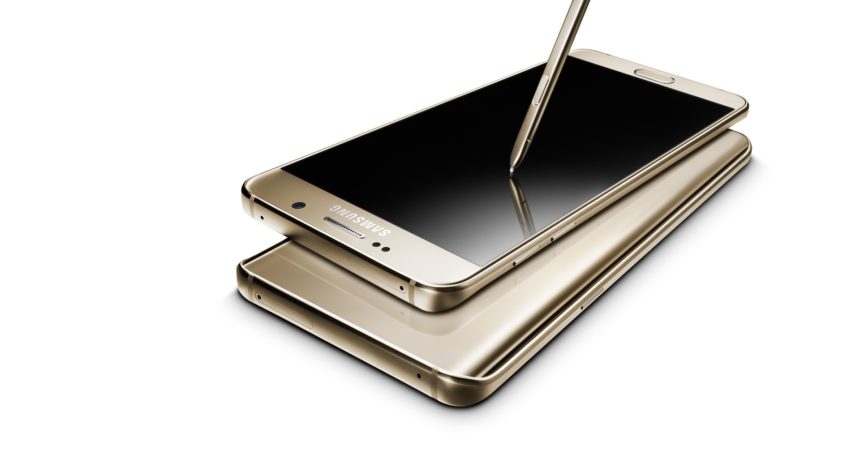
The Galaxy Note 5 N920I/N920C
Samsung Galaxy Note 5 is now available almost everywhere in the world. Two of the most popular variant, found in many regions are the N920I and N920C. All versions of the Galaxy Note 5 run on Android 5.1.1 Lollipop out of the box.
The specs of the Note 5 are great and it’s really worth your while to tweak this device and unleash its full potential. To do so, you need to root it and install a custom recovery.
In this guide, we’re going to show you how to install custom recovery and root the Galaxy Note 5 variants N920I/N920C.
Before we begin, you need to remember the following:
- This guide will only work with the Samsung Galaxy Note N920I/N920C. Don’t use it with any other device.
- You phone needs to have 50 percent of its battery life.
- You need an original data cable that can establish a connection between your PC and your phone.
- You should back up all your important data
Note: The methods needed to flash custom recoveries, roms and to root your phone can result in bricking your device. Rooting your device will also void the warranty and it will no longer be eligible for free device services from manufacturers or warranty providers. Be responsible and keep these in mind before you decide to proceed on your own responsibility. In case a mishap occurs, we or the device manufacturers should never be held responsible.
Now, download the following:
- Odin 10.6 – download and extract to PC
- Samsung USB drivers – download and install
- Philz Advanced CWM.tar – save on PC desktop here
- zip – copy this file to phone’s SD Card here
- Arter97 Kernel.zip – copy this file to your phone’s SD card
Install Philz Advanced CWM And Root Galaxy Note 5 N920I/N29C
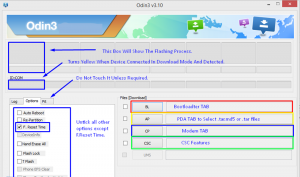
- Open Odin 3.10.6.exe
- Put the Note 5 into download mode. You can do so by first turning it off completely and then turn it back on by pressing and holding down the volume down, home and power button. When the phone boots up, press volume up key to continue.
- Use data cable to connect phone and PC. If connected properly, the ID:COM box located on the top-left corner of Odin3 should turn blue.
- Click the AP tab. Select the downloaded Philz Advanced CWM.tar file. Wait a few seconds for Odin to load the file.
- If you see that the Auto-reboot option is unticked, make sure to tick it. Leave all other options you see in Odin as is.
- Flash the recovery by clicking on Odin’s start button.
- When you see a green light on the process box that is located above the ID:COM box, the flashing process is done.
- Disconnect device and let it reboot.
- Turn the device off properly then boot the into recovery mode by turning it on by pressing and holding down the volume up, home and power buttons.
- Your device should now boot into recovery mode and it should be the CWM recovery that you just installed.
- While in CWM recovery select: Install zip>Choose zip from SD card>Arter97 Kernel file. Flash the file.
- When the file is flashed, go back to Install zip>choose zip from SD card>SuperSu.zip. Flash the file.
- Reboot the phone using recovery.
- Check for the SuperSu in the application drawer.
- Install BusyBox from the Google Play Store.
- Verify that you have root process by downloading and using Root Checker from the Google Play Store.

Have you rooted and installed a custom recovery on your Galaxy Note 5?
Share your experience in the comments box below.
JR
[embedyt] https://www.youtube.com/watch?v=dhue0Da3ysc[/embedyt]


![Rooting Galaxy Tab Pro 12.2 (LTE) SM-T905 [Android 4.4.2 KitKat] Rooting Galaxy Tab Pro 12.2 (LTE) SM-T905 [Android 4.4.2 KitKat]](https://www.android1pro.com/wp-content/uploads/2015/10/A1-2-270x225.jpg)


Excellent Tutorial with working download.