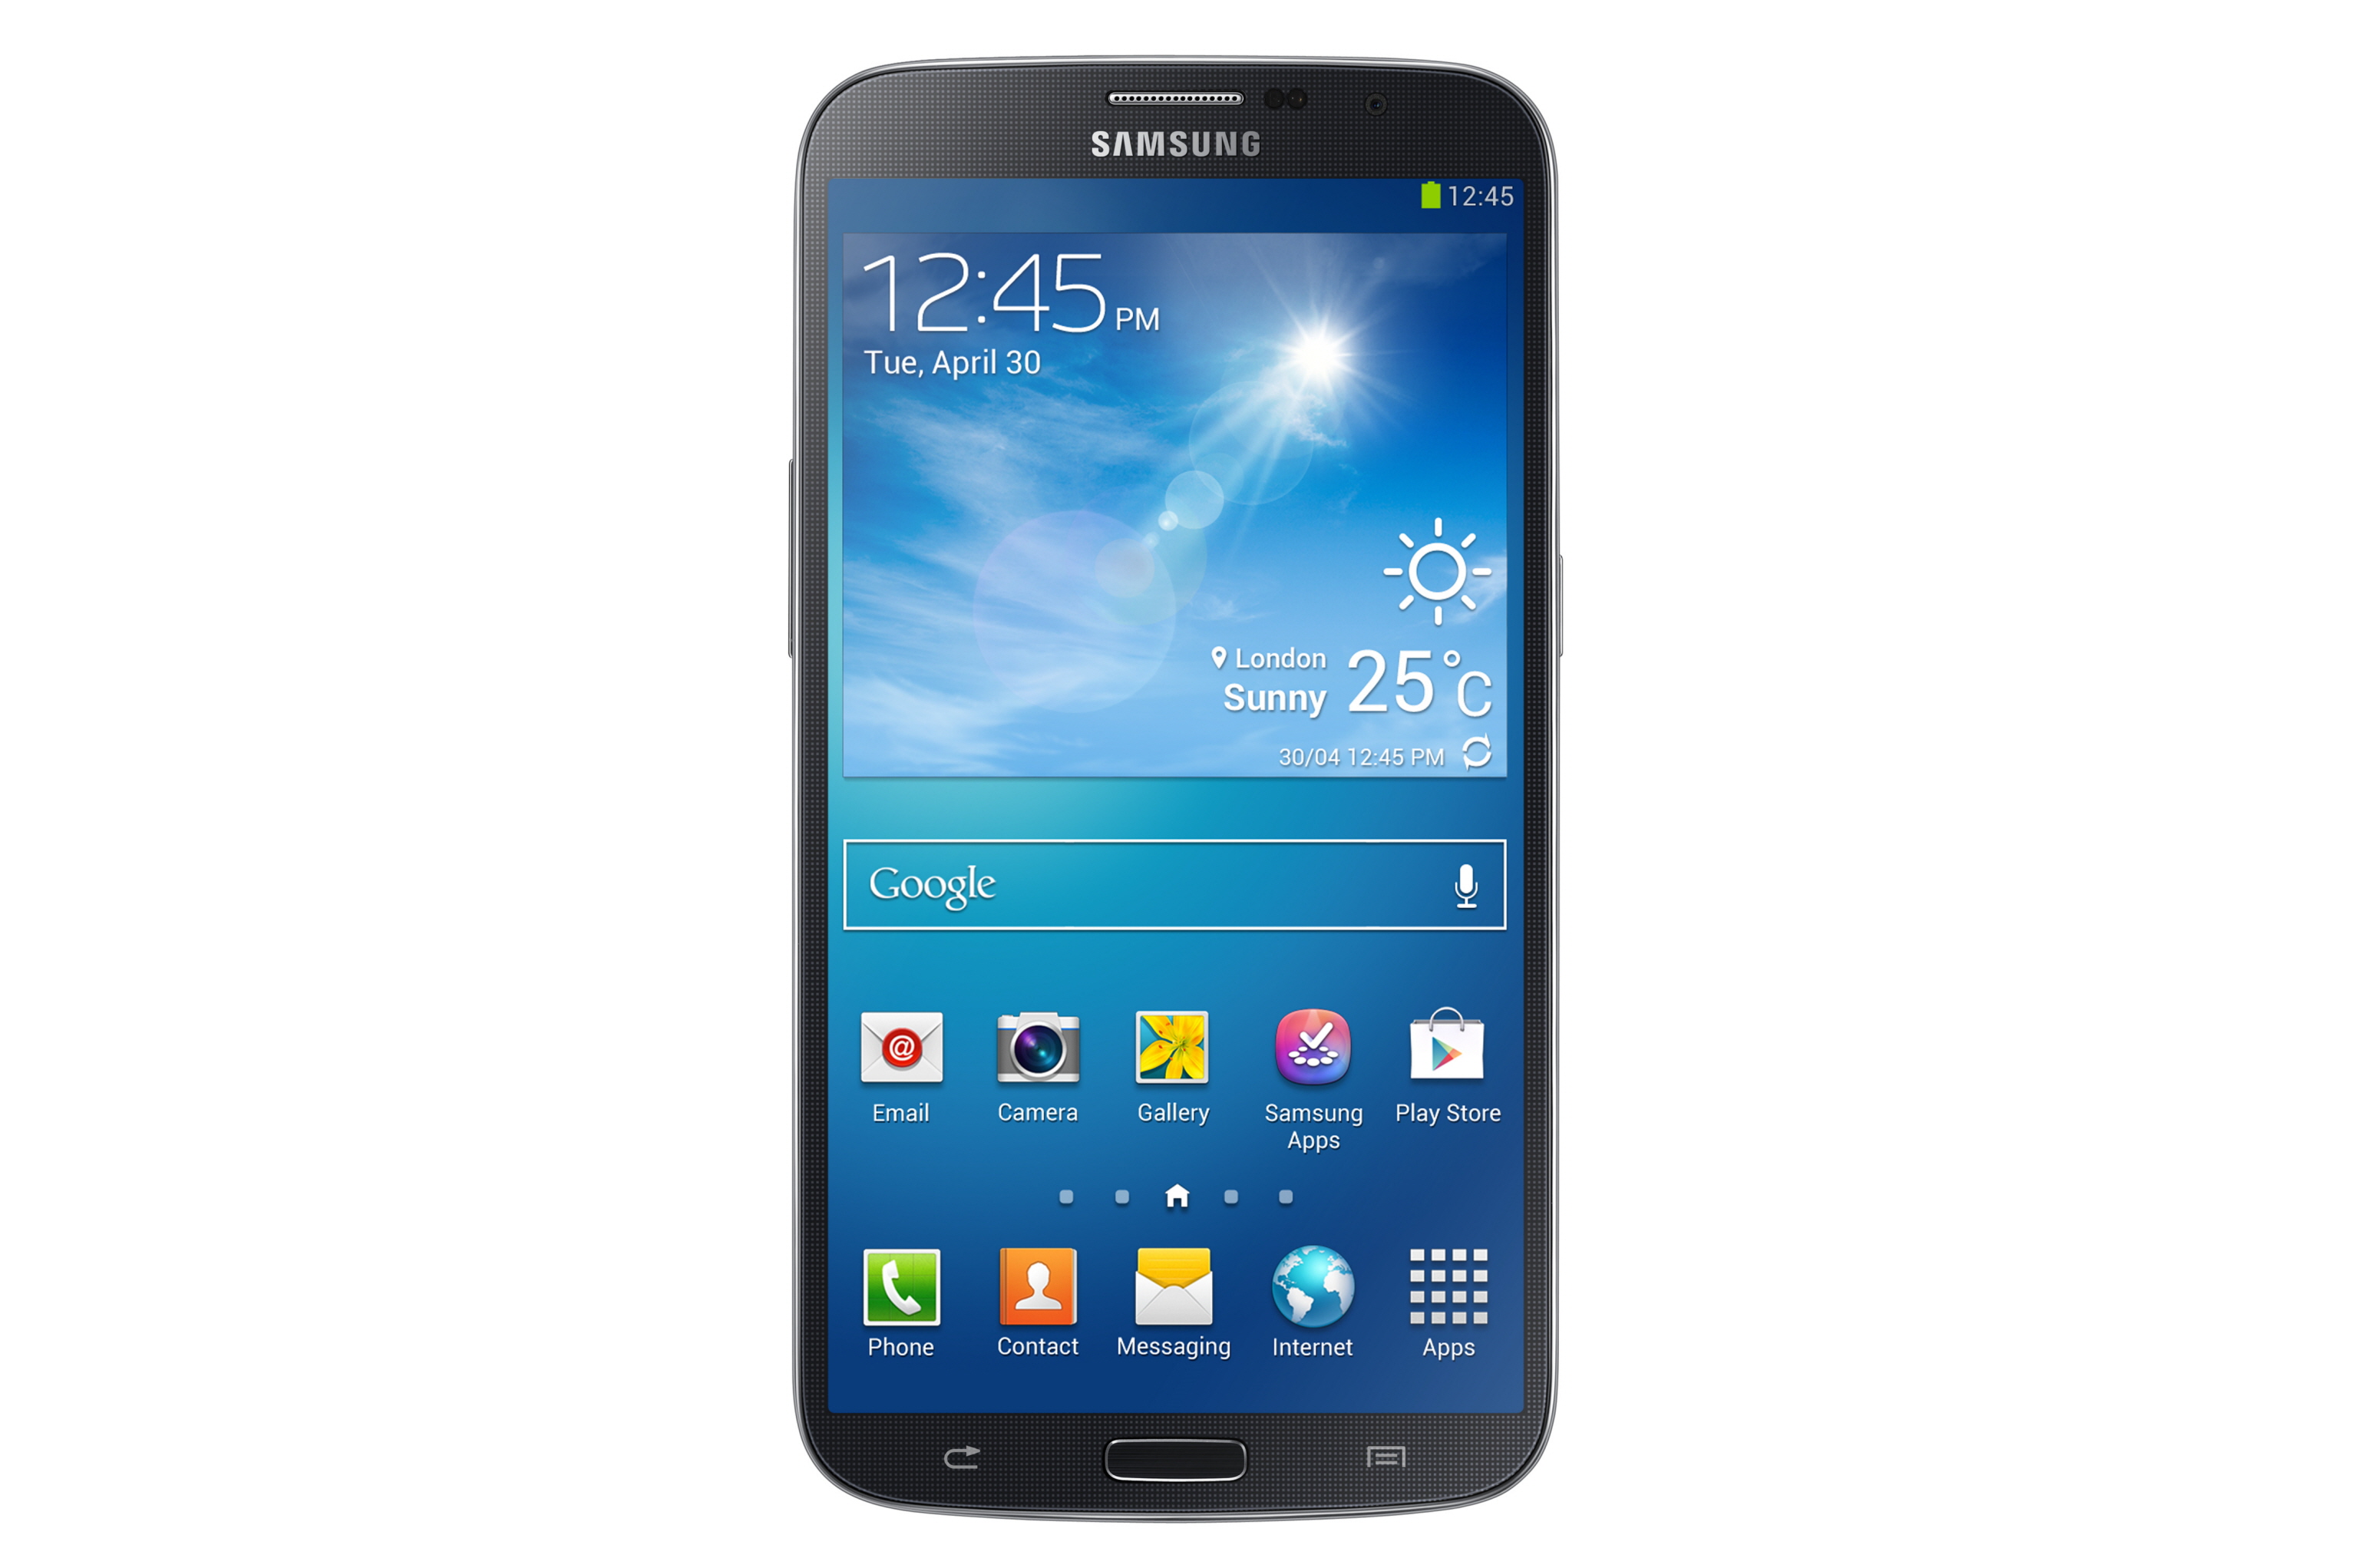
Installing Android 7.0 Nougat on Galaxy Mega 6.3. The origin of Samsung’s Galaxy Mega series can be traced back to 2013 when the company introduced two devices – the Galaxy Mega 5.8 and Galaxy Mega 6.3. Although not the main flagship phones, these devices performed reasonably well in terms of sales. The larger of the two, the Galaxy Mega 6.3, boasted a 6.3-inch SC-LCD capacitive touchscreen display, powered by a Qualcomm Snapdragon 400 Dual-Core CPU with Adreno 305 GPU. It had storage options of 8/16 GB and 1.5 GB of RAM, and also featured an external SD card slot. An 8MP rear camera and a 1.9MP front camera were installed on the device. It came equipped with Android 4.2.2 Jelly Bean upon release and was updated to Android 4.4.2 KitKat. Unfortunately, Samsung has completely ignored this device since then, neglecting its software updates.

Galaxy Mega Relies on Custom ROMs for Updates
Due to the lack of official software updates for the Galaxy Mega, the device has become dependent on custom ROMs for updates. In the past, users have had the opportunity to upgrade to Android Lollipop and Marshmallow through these custom ROMs. Currently, there is even a custom ROM available for Android 7.0 Nougat on the Galaxy Mega 6.3.
An unofficial build of CyanogenMod 14 has been released for the Galaxy Mega 6.3 I9200 and the LTE variant I9205, allowing for installing Android 7.0 Nougat. Despite being in early development stages, common features such as making calls, sending text messages, utilizing mobile data, Bluetooth, audio, camera, and WiFi have been reported as functional on this ROM. Any associated bugs are minimal and should not hinder the installation process for experienced Android users.
In this article, we will demonstrate a simple approach for installing Android 7.0 Nougat on the Galaxy Mega 6.3 I9200/I9205 via the CM 14 custom ROM. It is crucial to adhere to the instructions closely to ensure a successful installation process.
Tips for Taking Precautions
- This ROM release is specifically designated for Galaxy Mega 6.3 I9200 and I9205 models. Attempting to flash this ROM on any other device will lead to device malfunction or “bricking”. Before proceeding, always verify your device’s model number under the settings > about device option to avoid any adverse outcomes.
- It is recommended to charge your phone up to at least 50% to prevent any potential power-related issues when flashing the device.
- Install a custom recovery onto your Galaxy Mega 6.3 I9200 and I9205.
- Back up all important data, including contacts, call logs, and text messages.
- It is strongly advised to generate a Nandroid backup, as it enables you to revert to your previous system in the event of an issue or error.
- To prevent potential EFS corruption down the line, be sure to backup the EFS partition.
- Adhere to the instructions precisely.
Please note: flashing custom ROMs will void a device’s warranty and is not officially recommended. By proceeding with this task, you do so at your own risk. It is important to understand that Samsung, or the device manufacturers are not liable in the event of an issue or error.
Installing Android 7.0 Nougat on Galaxy Mega 6.3 I9200/I9205
- Retrieve the most recent CM 14.zip file that corresponds to your device.
- Acquire the Gapps.zip [arm, 6.0.zip] file intended for Android Nougat.
- Now, connect your phone to your computer.
- Transfer all .zip files to your phone’s storage drive.
- Disconnect your phone and power it off completely.
- To access TWRP recovery, turn on your device by holding down the Volume Up, Home Button, and Power Key simultaneously. In a matter of moments, you will see the recovery mode.
- While in TWRP recovery, clear the cache, factory data reset, and dalvik cache by utilizing advanced options.
- Once these three have been cleansed, choose the “Install” option.
- Next, choose “Install Zip > Select cm-14.0…….zip file > Yes.”
- This will install the ROM onto your phone, after which you can return to the main menu in recovery.
- Again, select “Install > Choose Gapps.zip file > Yes.”
- This will install Gapps on your phone.
- Restart your device.
- Within a few moments, your device should showcase the CM 14.0 operating with Android 7.0 Nougat.
- That concludes the process.
Enabling Root Access on ROM
To enable root access on this ROM, firstly navigate to settings, then proceed to about device, and tap the build number seven times. Consequently, developer options will become available on settings. Finally, you may enable root access once you’re in developer options.
Initially, the first boot may require up to 10 minutes. If it is taking longer, don’t fret as there is no cause for concern. However, if it is taking too long, you can access TWRP recovery, clear the cache and dalvik cache, and reboot your device to potentially resolve the issue. In case further issues arise, you may revert to your old system by utilizing Nandroid backup or follow our guide on how to install the stock firmware.
Feel free to ask questions concerning this post by writing in the comment section below.


