Use Bump! To Install TWRP Recovery On LG G3
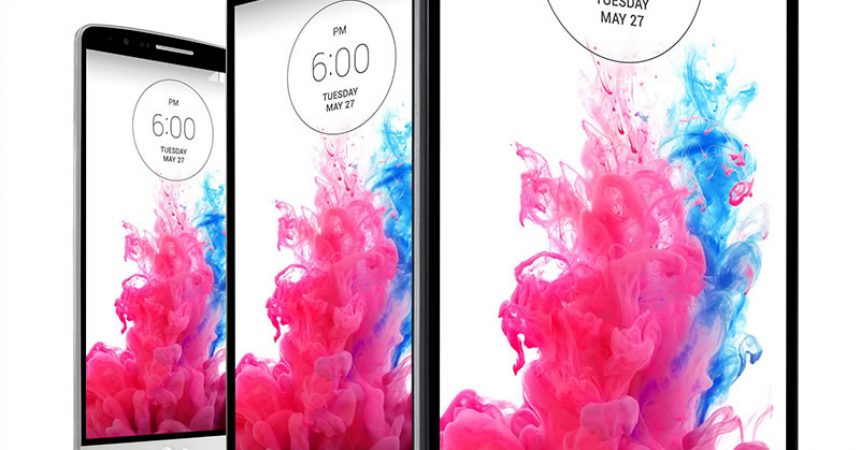
LG’s G3 flagship has been out for a while now, but it is still a great device. There have been several methods developed to root this device, but there was always the difficulty of getting around the locked bootloader. We’ve found a way you can work around this.
The workaround is called “Bump!” and it will install TWRP Recovery on the LG G3. It will work with the following versions of G3: International LG G3 D855, Canadian LG G3 D852, AT&T LG G3 D850, Korean LG G3 F400, T-Mobile LG G3 D851, Canada Wind, Sasktel, Videotron D852G, Sprint LG G3 LS 990, Verizon LG G3 VS985.
If you have a compatible G3 device, you can follow along with our guide and use Bump! to install TWRP recovery on it. There are two methods, using Flashify or PC
Prepare your phone:
- This guide can only be used with an LG G3 of the variants listed above. To check that you have the proper device, try one of the two following methods
- Go to Settings>More/General>About Device
- Go to Settings>About Device
- Charge your battery so that it has at least over 60 percent of its battery life.
- Have an OEM data cable with which you can make a connection between your phone and your PC.
- Backup your important contacts, call logs and SMS messages
- Backup your important media content by copying them manually to a PC or laptop
- Root your phone
- Install ADB and Fastboot folders on your phone.
- Enable USB debugging. You can do so with the following method
- Go to Settings>About Device
- Find the build number then tap on it seven times
Note: The methods needed to flash custom recoveries, roms and to root your phone can result in bricking your device. Rooting your device will also void the warranty and it will no longer be eligible for free device services from manufacturers or warranty providers. Be responsible and keep these in mind before you decide to proceed on your own responsibility. In case a mishap occurs, we or the device manufacturers should never be held responsible.
Installing TWRP Recovery using Flashify
- Download Bump! TWRP recovery.img directly onto your phone.
- Put the downloaded recovery.img file onto your phone’s internal sd card.
- Download and install Flashify on phone
- Find and open Flashify on your app drawer.
- From Flashify, choose “Recovery Image”.
- Locate and select copied recovery.img file.
- When asked for confirmation, tap “Yup”.
- TWRP recovery will flash and once installation is complete your phone should reboot into TWRP itself.
Note: If you want to go to TWRP recovery later, turn your device off completely and turn it on back on by pressing and holding down the volume down and power key till you see the TWRP interface.
Installing TWRP Recovery using PC
- According to your device version, download the appropriate recovery.img file from here: Bump! TWRP.
- Connect your phone and your PC and copy the downloaded recovery.img file to phone’s internal storage.
- Execute Minimal ADB & Fastboot file from your PC desktop.
- If you are asked for USB Debugging permission, check trust this PC.
- In Minimal ADB & Fastboot command window, issue commands that follow. Replaced the DOWNLOADED_RECOVERY with the name of the file you downloaded in step 1.
adb shell
su
dd if=/dev/zero of=/dev/block/platform/msm_sdcc.1/by-name/recovery
dd if=/sdcard/DOWNLOADED_RECOVERY.img of=/dev/block/platform/msm_sdcc.1/by-name/recovery
- After you run these commands, you should find that TWRP recovery was automatically loaded onto your phone. When it is completely done, reboot your device.
Note: If you want to go to TWRP recovery later, turn your device off completely and turn it on back on by pressing and holding down the volume down and power key till you see the TWRP interface.
Have you used Bump! to get TWRP recovery on your device?
Share your experience in the comments box below.
JR
[embedyt] https://www.youtube.com/watch?v=3TYmll9HGzA[/embedyt]


