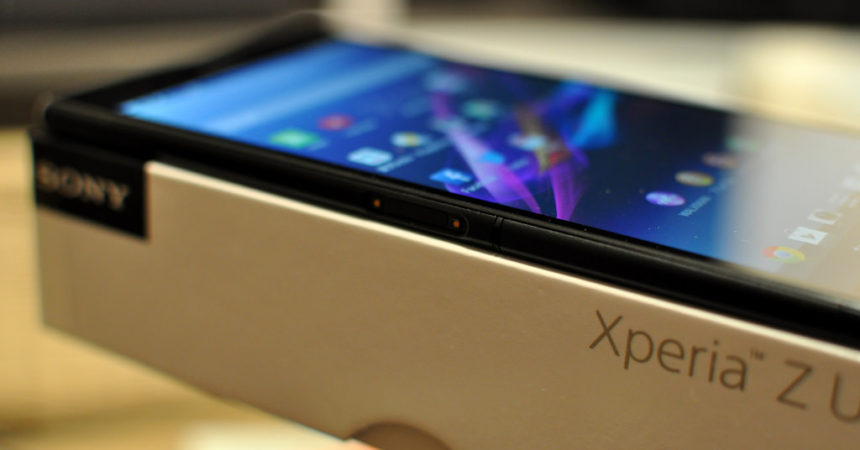
The Root Xperia Z Ultra
After a two months, Sony has begun the Lollipop updates for their Xperia Z series. The Xperia Z Ultra has received a Android 5.0.2 Lollipop update with the build number 14.5.A.0.242.
The 14.5.A.0.242 update for Xperia Z Ultra is one of the most awaited updates so far. However, Android Power Users need to root Xperia Z Ultra 14.5.A.0.242 firmware after the updating and the old rooting methods don’t work.
By following this guide, you can root Xperia Z Ultra 14.5.A.0.242 firmware for the following models: C6802, C6833 and C6806.
Before you begin the rooting process make sure of the following:
- Your device is a SonyXperia ZUltra C6802, Z Ultra C6806 and Z Ultra C6833
- Make sure the modelnumbers match. Using this guide on a device that doesn’t match could result in bricking.
- Check the model number by going to Settings > About Device
- Your battery is charged to at least over 60 percent
- If your battery is low and the device goes dead during flashing process, you will brick the device.
- Have everything backed up.
- SMS Messages
- Call Logs
- Contacts
- Media
- If the device is already rooted then you can use Titanium Backup to backup apps, system data and other important content.
- If CWM or TWRP was installed previously use Backup Nandroid
- USB Debugging Mode is enabled
- Tap settings>developer options>USB debugging.
- Or, if you cannot locate developer options in settings, tap settings > about device and then tap “Build Number” 7 times
- Have Sony Flashtool installed and set up.
- After installing, open Flashtool folder
- Flashtool>Drivers>Flashtool-drivers.exe. Install the Flashtool, Fastboot and Xperia Z Ultra drivers.
- If you don’t find Flashtool drivers in Flashmode, skip this and just install Sony PC Companion
- Have an OEM data cable to establish a connection.
- Unlock Bootloader
Note: The methods needed to flash custom recoveries, roms and to root your phone can result in bricking your device. Rooting your device will also void the warranty and it will no longer be eligible for free device services from manufacturers or warranty providers. Be responsible and keep these in mind before you decide to proceed on your own responsibility. In case a mishap occurs, we or the device manufacturers should never be held responsible.
Steps to Root Xperia Z Ultra 14.5.A.0.242 Firmware
First: Downgrade to .108 Firmware then Root It
Note: If your phone has already been upgraded to Android 5.0.2 Lollipop, you need to downgrade it to KitKat OS and root it first.
I1. Install .108 firmware and root it.
- Instal XZ dual recovery.
- Enable USB debugging.
- Download the latest installer for the Xperia Z Ultra (ZU-lockeddualrecovery2.8.10-RELEASE.installer.zip) here
- Using the OEM data cable, connect the phone to the PC and then run install.bat. This will install the custom recovery.
Second: Make Pre-Rooted Flashable Firmware for .242 FTF
- Download the following:
- PRF Creator – install in your system
- zip – place anywhere in your PC
- .242 FTF (make sure this firmware is specific for your device) – place anywhere in your PC
- ZU-lockeddualrecovery2.8.10-RELEASE.flashable.zip
- Run PRFC. Add the three files downloaded in the previous step on it.
- Click Create. This will create the Flashable ROM. When the Flashable ROM is created, you will get a successful message.
- Copy the pre-rooted firmware to the internal storage of the phone.
NOTE: If you don’t want to create a pre-rooted flashable zip for your phone, just download a pre-rooted flashable zip (C6802 14.5.A.0.242 Pre-Rooted Flashable Zip or C6806 14.5.A.0.242 Pre-Rooted Flashable Zip) .
NOTE2: There is no pre-rooted flashable zip for the C6833 for now.
Third: Root and then install Recovery on Z Ultra C6802/C6806/C6833 5.0.2 Lollipop Firmware
- Turn off the phone.
- Turn it on again then press either volume up or volume down repeatedly. You should enter custom recovery.
- Click Install then find the folder where you had placed the flashable zip created in the second step of this guide.
- Tap and install.
- Reboot phone. If the phone is still connected to the PC with the USB cable make sure to disconnect it.
- Go back to the .242 ftf file that was downloaded in the second step. Make a copy and place it to /flashtool/firmwares
- Open the flashtool, you will see a lighting icon placed on the top left.
- Click the lightning icon and then click on flashmode.
- 242 firmware.
- On the right bar, you will see the exclude options. Exclude Systems. Leave all other options as they are.
- As the flashtool prepares to flash the software, turn the phone off.
- While keeping the volume down pressed, connect the phone to the PC again with the USB cable.
- The phone should enter flashmode.
- Flashtool will detect the phone on flashmode and start the flashing process.
- When flashing is completed, the phone will reboot.
If you follow this guide correctly, your phone should now have dual custom recovery, root access and Android 5.0.2 Lollipop Firmware.
Have you tried Android 5.0.2 Lollipop firmware?
Tell us what you think.
JR


