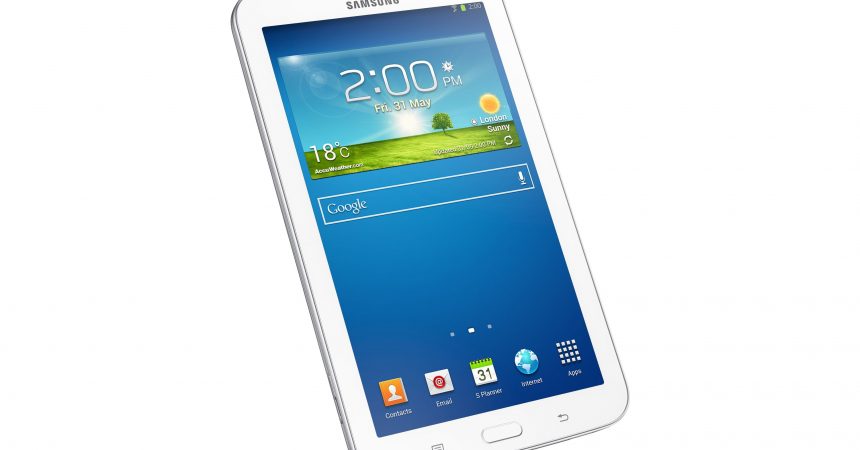
The Galaxy Tab 3 SM-T210/T210R
Samsung has released an update to Android 4.4.2 Kitkat for the Galaxy Tab 3 SM-T210/T210R. If you have installed this update in your device, your going to find you have lost any custom recoveries you have installed in the device.
In this guide, we’re going to show you how you can get custom recovery on an updated Galaxy Tab 3 SM-T210/T210R. We will be using a program which compiles TWRP 2.8 and CWM 6.0.4.9 recoveries to allow them to cooperate with the Kitkat bootloaders of these two devices. Both these recoveries do the same things but they differ when it comes to user interface. You can pick one which suits you best.
Prepare your phone:
- Make sure you have a Galaxy Tab 3 SM-T210/T210R. Check what device you have by going to Settings>More/General>About Device or Settings<About device.
- Charge your battery to at least 60 percent.
- Have an OEM cable that you can use to establish a connection between your device and a computer.
- Backup all your media files by copying them manually to a PC or laptop.
- If you are rooted, use Titanium Backup to backup all of your apps, system data and any other important content.
- Turn off Samsung Kies as this software could interfere with Odin3.
Note: The methods needed to flash custom recoveries, roms and to root your phone can result in bricking your device. Rooting your device will also void the warranty and it will no longer be eligible for free device services from manufacturers or warranty providers. Be responsible and keep these in mind before you decide to proceed on your own responsibility. In case a mishap occurs, we or the device manufacturers should never be held responsible.
Download:
- Odin3 v3.09.
- Samsung USB drivers
- CWM or TWRP Recovery
Install TWRP 2.8/CWM 6.0.4.9 Recovery On Galaxy Tab 3 SM-T210/T210R
- Open Odin3.exe.
- Put your device into download mode by first turning it off and waiting for 10 seconds. Then turn it back on by pressing and holding down the volume down, home and power buttons simultaneously
- When you see a warning, press the volume up key.
- Connect device to PC. Make sure that you have already installed Samsung USB drivers before making the connection.
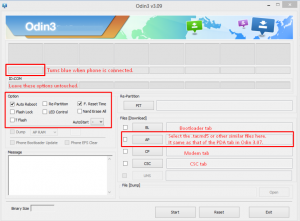
- When Odin detects your phone, you should see the ID:COM box turn blue.
- If you have an Odin 3.09, hit the AP tab. If you have the Odin 3.07, hit the PDA tab.
- From either the AP or PDA tab, select the recovery.tar.md5 file that you downloaded.
- Make sure to choose the options in Odin so that they match the photo below.

- Press start and recovery should begin flashing. Wait for the flashing process to complete.
- When the flashing process finishes, your device should restart. When it restarts, remove the connection between your device and the PC.
- To boot your device into recovery mode, follow steps 2 and 3 again, but instead of pressing volume down, home and the power button, you will be pressing volume up, home and the power button.
To Root
- Download android-armeabi-universal-root-signed.zip.
- Copy the downloaded file to your device’s sd card.
- Boot into recovery mode.
- Flash copied .zip fileby choosing: Install zip > choose zip from sd card > .zip file > yes.
- When it is flashed, reboot your device.
- Go to your app drawer and look for SuperSu. If you find it, you have successfully rooted your device.
Have you rooted and installed a custom recovery on your A Galaxy Tab 3 SM-T210/T210R?
Share you experience in the comments box below.
JR
[embedyt] https://www.youtube.com/watch?v=BDShwBHRjUE[/embedyt]


![How-To: Download The Latest Version Of Odin PC [V 3.09] How-To: Download The Latest Version Of Odin PC [V 3.09]](https://www.android1pro.com/wp-content/uploads/2015/10/a1-270x225.png)
