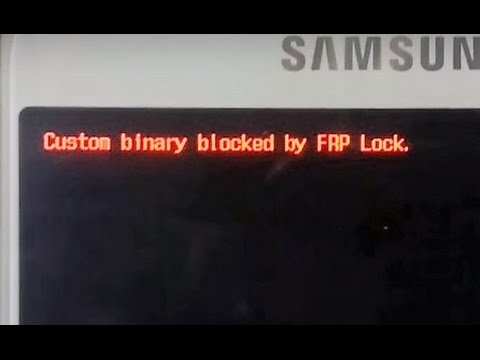
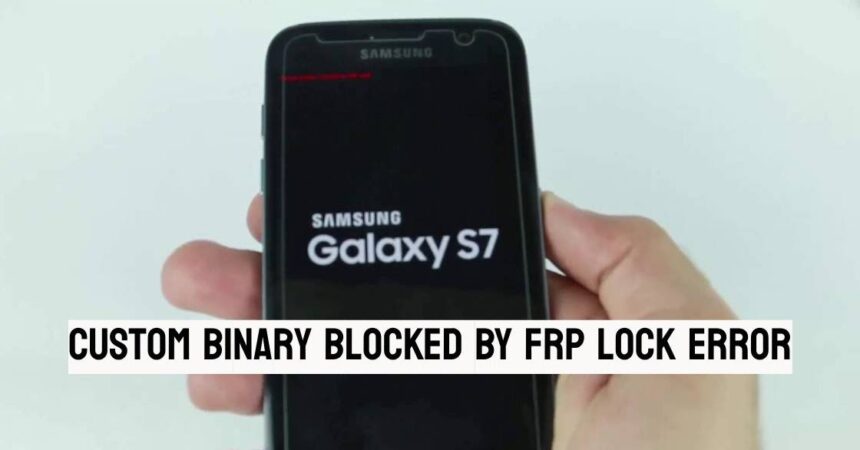
Custom Binary Blocked by FRP Lock Error. If you are encountering the FRP Lock Error stating “Custom Binary Blocked” on your Galaxy Note 5, Galaxy S7/S7 Edge, Galaxy S8, Galaxy S5, Galaxy Note 4, Galaxy S3, or any other device, don’t worry. We have got you covered with the following step-by-step instructions to resolve this issue.
FRP lock, also referred to as Factory Reset Protection lock, is the latest security feature implemented by Samsung. The primary objective of this feature is to prevent unauthorized factory resets or software modifications without the owner’s consent. While this feature provides added security, it is not widely known to all users.

Numerous users have encountered the frustrating issue of the “Custom Binary Blocked By FRP Lock” error on their Samsung devices running Android 5.1 or higher. While I won’t delve into the reasons behind this error, I’m here to provide you with a solution to fix it on any Samsung device. However, I must emphasize that the procedure I’m about to explain will result in a complete data wipe. Therefore, if you wish to preserve your data, I strongly advise against attempting this method.
Custom Binary Blocked By FRP Lock Error: Guide
To successfully resolve the issue, please follow the instructions provided closely and ensure that you diligently follow each step as outlined below.
To begin, you will need to download the Stock Firmware, available from the provided link, as well as the latest version of Odin. It is crucial to ensure that you download the firmware that is compatible with your device variant.
- To put your Samsung Galaxy device into download mode, follow these steps: Start by turning off your device and waiting for approximately 10 seconds. Now, press and hold the Volume Down button, Home button, and Power button simultaneously. You should see a warning message displayed on the screen. To proceed, press the Volume Up button. If this method does not work for you, you can try an alternative method from the guide provided in the link.
- Establish a connection between your device and your PC.
- Once Odin detects your phone, you will notice the ID:COM box turning blue.
- In Odin, proceed to select the files individually, as illustrated in the provided picture.
- Go to the BL tab in Odin and choose the corresponding BL file.
- In Odin, navigate to the AP tab and choose the appropriate PDA or AP file.
- Within Odin, go to the CP tab and choose the designated CP file.
- Within Odin, proceed to the CSC tab and select the HOME_CSC file.
- Double-check to ensure that the options selected within Odin are precisely as depicted in the provided picture.
- Click on the “Start” button and patiently wait until the firmware flashing procedure is finished. You will know that the flashing process is successful when the flashing process box turns green.
- After the flashing process is completed, disconnect your device and then manually restart it.
- Once your device finishes booting up, take a moment to examine the updated firmware.
That concludes the instructions. If you are unable to flash the stock firmware using Odin on your device, the most suitable solution would be to bring your device to a Samsung service center. Additionally, you can find helpful videos on YouTube that demonstrate how to resolve the “Custom Binary Blocked By FRP Lock Error.” These videos can provide further guidance and support. – Link here
Feel free to ask questions concerning this post by writing in the comment section below.


