Build Android Kernel
You can create your own kernel for your Android in 10 steps.
Android has been doing well because of the open sources, Linux based systems. Because of these open systems, it is easy to update the device and it also makes developments and licensing cheaper while Google continues to generate its income through advertisers and its Google Play store.
The business model of the whole system is pretty fascinating as well as its core kernel. The core kernel is responsible for bridging the software and the hardware. It includes the drivers and module of your device. You can change compilation of modules on Linux distributions that are full-blown. This boosts the speed of your system.
The kernels are readily optimized for every single device. However, there are still room for more optimization. Some examples include removing the Bluetooth module and adding elements to the kernel.
To build the kernel, the Ubuntu is oftentimes used. This is a Linux distribution. No installation is needed. All you need is a flash storage or CD so you cab boot it from the PC or laptop.
-
Go To Ubuntu
You need an Ubuntu 12.04 version or later to get started. If you don’t have it yet, you can download the latest version from the Ubuntu website. After downloading, save the ISO to a disc or use Unetbootin to create a bootable USB stick.
-
Boot Into Ubuntu
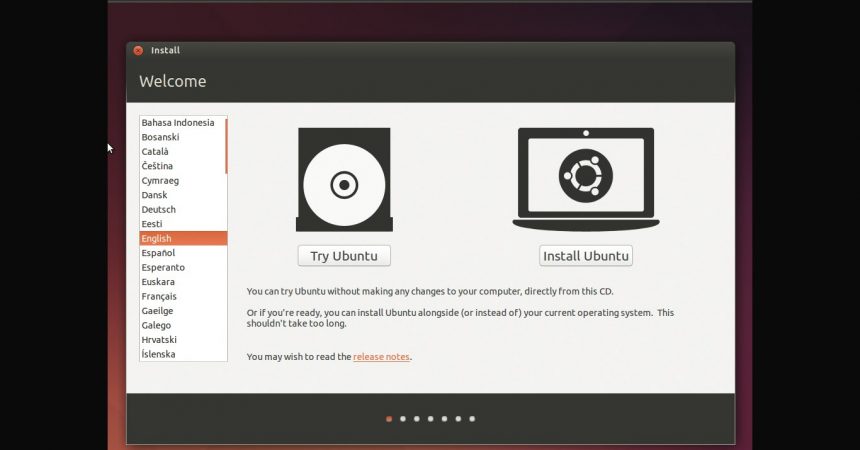
Reboot the computer with the disc or USB Stick attached to it. Open the boot menu as soon as it the computer is turned on. Choose the medium where you want to access Ubuntu from. You will be asked to install Ubuntu or try, just choose Try.
- Prepare Ubuntu For Building
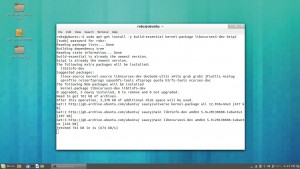
You need some extra software installed first before using Ubuntu. Press the logo of Ubuntu or the Windows key and look for the terminal. Key in: $ sudo apt-get install build-essential kernel-package libnruses5-dev bzip2
-
Get Kernel Source
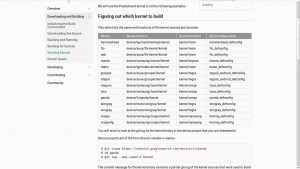
A certain kernel is assigned to every device. You can find the kernel of your device by searching for it online. You can find general ones on AOSP. Specific kernels can also be found on HTC and Samsung. Download the right kernel source code for you and store it on a new folder.
-
Download NDK
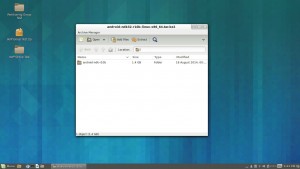
Go to the site of Android NDK and download either the 32 or 64-bit Linux version. Store it in the same folder where you stored your kernel source code. Extract those files as well as the kernel if the kernel is compressed.
-
Prepare Configuration
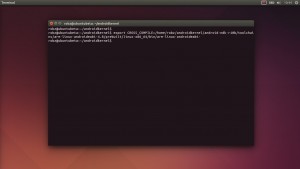
Go back to the terminal and navigate to the kernel folder with the use of cd. Use:
$ export CROSS_COMPILE=[folder location]/androidkernel/android-ndk-r10b/toolchains/arm-linux-androideabi-4.6/prebuilt/linux-x86_64/bin/arm-linux-androideabi-
Find the defconfig file where your device code is. This can be found in the kernel source. Rename that file to maker.defconfig or maker_defconfig.
-
Go To Kernel Menu
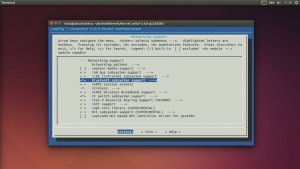
Go back to the terminal and use these commands:
make maker.config
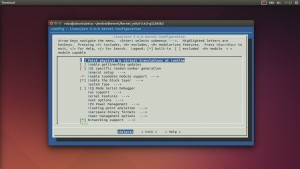
make menuconfig
As soon as you enter the second command, a kernel configuration menu will be displayed. This is where you can start making changes.
-
Configure Your Kernel
Make sure you already know what to change in the menu. Randomly removing modules can be risky to your phone. It may leave your phone not booting or worse, permanently damaging your device. You can find ideas from Google about what to change.
-
Build New Kernel
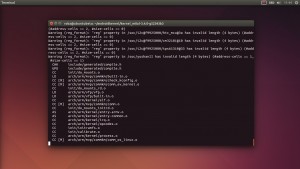
If you are satisfied with the changes, you can save them and begin to build your new kernel. You can use this command:
$ make –jX ARCH=arm
Replace X with how many cores your device’s CPU has.
-
Flash To Phone
Find a flashable kernel zip for your phone. Copy the zImage from the build into your kernel. This is how you can now use the new kernel. You can also add more modules to customize your phone the way you want it to run.
Share your experience.
Go to the comment section below and leave a comment.
EP
[embedyt] https://www.youtube.com/watch?v=PQQ4JQL31B4[/embedyt]
