The Nexus S, Galaxy Nexus and Google Nexus 4/5/7/10
Google’s Nexus devices are relatively cheap Android devices with great support – which is why they are so popular. Google is always bringing the latest versions of Android to their devices. They have also partnered with cellphone giants LG, HTC, and Samsung for their Nexus devices.

In this post, we’re going to show you an easy way to get root access on a Google Nexus device. The Nexus Root Toolkit can not only enable your Nexus devices root access but it can also install a custom recovery and allow you to easily lock and relock/restore your device.
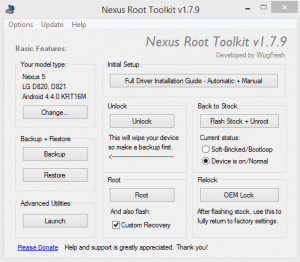
Google Nexus devices come with locked bootloaders, so to flash custom ROMs or custom recoveries you need to unlock your bootloader. The Google Nexus Root Toolkit allows you to unlock your bootloader by simply connecting to your device and pressing the unlock button on the tool. Once you do this, the tool also downloads a recovery, root and other files that are needed to perform different processes on your device. Thus, pressing the root button and checking the custom recovery installation option will root and install recovery on your device. The tool also offers the option to flash a stock factory image and unroot your device if you want to return it to factory state. You can also relock the bootloader.
Perhaps the most useful option in this tool is the backup option. You can use this tool to backup your apps as well as your app and its data, contacts, SMS messages, Call Logs, Media Content, APN settings and whatever data you have on your SD card. You can also create a Nandroid backup after installing a custom recovery. If you need to restore any of these, the restore option is just below the backup option on your Toolkit.
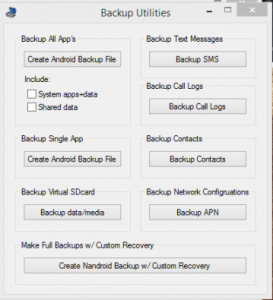
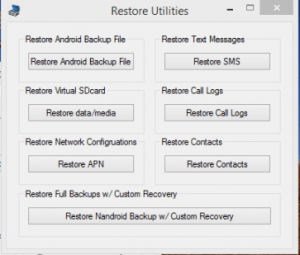
Other features of Toolkit are Advanced Utilities where you can boot or flash img files, install APK files, flash zip files, flash stock kernels, and flash stock recoveries.
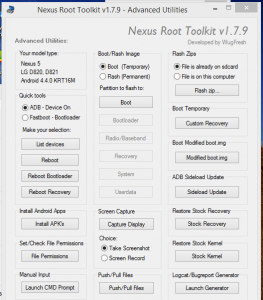
The Toolkit will work with the following devices:
1. Galaxy Nexus GSM/HSPA+
2. Galaxy Nexus Verizon LTE
3. Galaxy Nexus Sprint LTE
4. Nexus S (WorldWide, I9020t, I9023 )
5. Nexus S (850 MHz, I9020a)
6. Nexus S (Korea, M200)
7. Nexus S 4G d720
8. LG Nexus 4 E960
- LG Nexus 5 D820, D821
- Nexus 7 Mobile Tablet
- Nexus 7 WiFi Tablet
- Nexus 7 v2 WiFi Tablet
- Nexus 7 v2 Mobile Tablet
- Google Nexus 10 WiFi Tablet
If you have one of these devices and you want to get Nexus Root Toolkit on it, follow along with our guide below.
How to use this tool.
- Download Nexus Root Toolkit v1.7.9: Link1 | Link 2 2. Install Tool. 3. Run tool. On its first run, the tool will prompt you to select your device and select your firmware version.
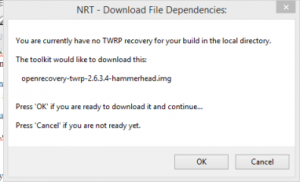
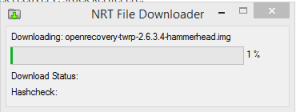
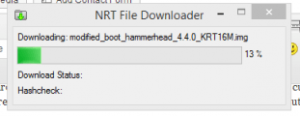
- Click the applied button and the tool will start to check the dependencies of your device and it will let you know the files it requires and which need to be downloaded.


- After the required files have been downloaded, you will be taken to the tool’s main menu. This is where you can find all the tool’s features.
- The first things you will need to choose the feature to unlock your device’s bootloader.
- Since unlocking your device will erase everything you currently have on it, use the backup option first. Connect your device and backup everything.
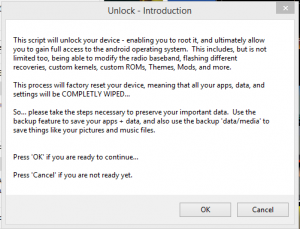
8. Enable your phone’s USB debugging mode. Make sure your phone’s drivers are installed properly. If you’re not sure, use the full driver’s installation guide that is also available in Toolkit.
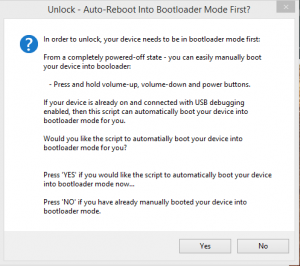
9. Connect the phone to the PC and hit the Unlock button. Follow on-screen instructions and the tool will unlock your phone for you.
10. After unlocking the bootloader, you can now root your phone. Hit the root button and follow the on-screen instructions.
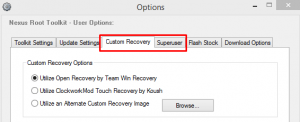
11. You can also now install a custom recovery. By default, this tool will install TWRP recovery. If you wish to install another recovery, you will need to select it by going to the Custom Recovery tab in Options.
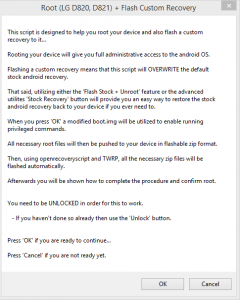
12. When you have rooted and installed a custom recovery on your device, the device’s stock recovery will be overwritten by custom recovery. This means you can now flash zip files, make a android backup and perform other tasks in custom recovery
There are a lot of things you can do with Nexus Root Toolkit and we encourage you to explore them.
Have you installed this on your Nexus device?
Share your experience in the comments box below.
JR

