Root A Samsung Galaxy
If you are an Android power user with a Samsung Galaxy, you’re probably itching to go beyond manufacturer specifications and use custom ROMs, mods and tweaks on it. Android’s open source nature allows developers to come up with stuff that can improve a device’s performance or add new and exciting features.
To truly get the most of an Android device like the Samsung Galaxy, you need to have root access. Root access can be obtained by using different tweaks and methods. In this post, we’re going to show you how to use a script called CF-Auto-Root and Odin to gain root access on a Samsung Galaxy device.
This guide can be used with Samsung Galaxy devices that run any firmware from Gingerbread to Lollipop and even the upcoming Android M. The files of CF-Auto-Root are available in .tar format which is flashable in Odin3.
Prepare your phone:
- Back up all important SMS messages, call logs and contacts as well as important media content.
- Charge battery to over 50 percent to make sure you don’t run out of power before installation ends.
- Disable Samsung Kies, Windows Firewall and any Anti-virus programs. You can turn them back on when installation is finished.
- Enable USB debugging mode.
- Have an original data cable to connect your phone and a PC.
Note: The methods needed to flash custom recoveries, roms and to root your phone can result in bricking your device. Rooting your device will also void the warranty and it will no longer be eligible for free device services from manufacturers or warranty providers. Be responsible and keep these in mind before you decide to proceed on your own responsibility. In case a mishap occurs, we or the device manufacturers should never be held responsible.
Download:
- Samsung USB drivers
- Odin3 v3.10.
- CF-Auto-Root – the appropriate one for your device.
Root Samsung Galaxy With CF-Auto-Root In Odin
Step#1: Open Odin.exe
Step#2: Click either the “PDA” / “AP” tab and then select unzipped CF-Autroot-tar file and extract it. NOTE: If the CF-Auto-Root file is in .tar format, no need for extraction.
Step#3: Leave all options in Odin as is. The only options ticked should be F.Reset Time and Auto-Reboot.
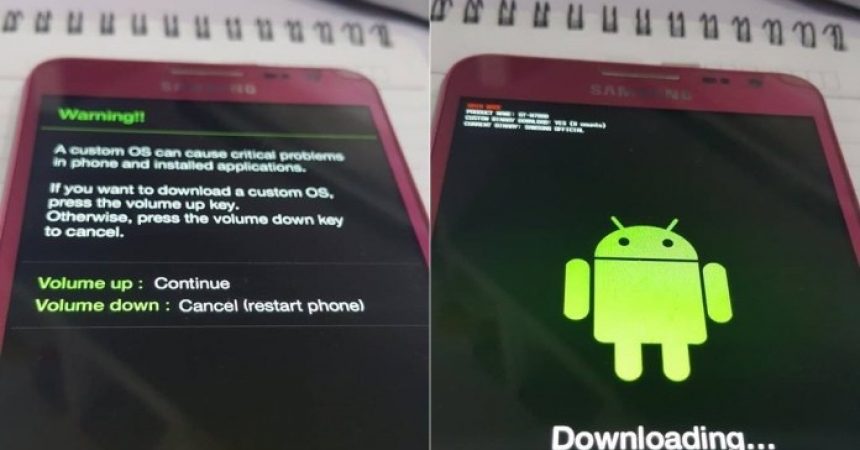
Step#4: Now put your phone in download mode. Turn it off and then turn it back on by pressing and holding the volume down, home and power buttons. When you see a warning, press the volume up button. When in download mode, connect your phone to the PC.
Step#5: When you connect your phone and PC, Odin should immediately detect it and you will see either a blue or yellow indicator in the ID:COM box.

Step#6: Click the “Start” button.
Step#7: CF-Auto-Root will be flashed by Odin. When flashing is done, your device will be rebooted.
Step#8: Disconnect your phone and wait for it to turn on. Go to the app drawer and check that SuperSu is there.
Step#9: Verify root access by installing Root Checker application from the Google Play Store.
Device booted up but not rooted? Here’s what to do
- Follow step 1 and 2 from the guide above.
- Now in third step, untick Auto-Reboot. Only ticked option left should be F.Reset.Time.
- Follow above guide from step 4 – 6.
- When CF-Auto-Root has been flashed, reboot device manually by either pulling out the battery or using button combo.
- Verify root access as in step 9.
Have you rooted your device?
Share your experience in the comments box below.
JR
[embedyt] https://www.youtube.com/watch?v=NZU-8aaSOgI[/embedyt]


Thank you for the working download file.
Danke sehr
Endlich ist es gelungen, den GT-N5110 zu rooten.
Die Wahrheit ist, dass ich ein bisschen Angst hatte, aber dank dieses Tutorials war es einfach, angenehm und einfach.
Ich wiederhole meinen Dank an diese Website und an alle Entwickler.