Root And Install TWRP Recovery On An LG G3
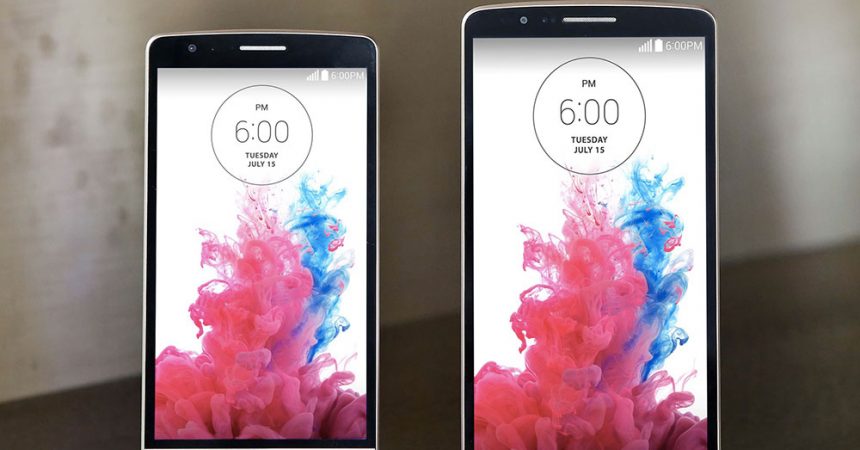
LG officially updated their G3 to Android Lollipop just a few days ago. While this is a great update, if you are an Android power user, you may not find the fact that you have lost root access after this update a good thing.
In this post, we are going to show you how you can gain root access on a LG G3 after it has been updated to Android Lollipop. We will also show you how you can install TWRP recovery on an LG G3.
Prepare your phone:
- Make sure you have the right variant of the LG G3. This guide will only work if you have the following LG G3 variants:
- LG G3 D855 (International)
- LG G3 D850
- LG G3 D852 (Canadian)
- LG G3 D852G
- LG G3 D857
- LG G3 D858HK (Dual SIM)
- You need to disable the OTA updates on your LG G3.
- Back up the EFS partition of your device.
- Back up your important contacts, text messages and call logs.
Note: The methods needed to flash custom recoveries, roms and to root your phone can result in bricking your device. Rooting your device will also void the warranty and it will no longer be eligible for free device services from manufacturers or warranty providers. Be responsible and keep these in mind before you decide to proceed on your own responsibility. In case a mishap occurs, we or the device manufacturers should never be held responsible
Download:
- Stock Android Lollipop KDZ/TOT file (when you extract this file, you will get system.img, boot.img, modem.img)
- LG Firmware Extractor tool
- The required tools for flashing the extracted images, as listed below.
- Flash2Modem.zip
- Flash2System.zip
- Flash2Boot.zip
Install and root:
- Place the downloaded Android Lollipop, Sharpening Mod Script, Flash2Modem, Flash2System, Flash2Boot, TWRP Recovery files on the external SD card of your LG G3.
- Make a folder called flash2 on the internal storage of your device.
- Into flash2, copy the system.img, boot.img and modem.img files.
- Into the internal storage of your device, copy the Sharpening Mod Script, Flash2Modem, Flash2System, Flash2Boot, TWRP Recovery files.
- Boot into TWRP recovery by pressing and holding the volume down and power button till the LG logo appears.
- When the logo appears, release volume down and power just for a second, then press them again. You should get a Factory Reset option. Select yes, and you should boot into TWRP recovery.
- Tap the install option while in TWRP recovery, select the Flash2System file and flash it. After that, flash Flash2Modem then Flash2Boot.
- Flash the Sharpening Mod Script. Choose the desired sharpening level.
- Follow on-screen instructions to get the boot.img file.
- When your see the finish message, press finish after which you will be asked to reboot your device. Do not reboot it. Merely close the tool without rebooting the device.
- Return to the main menu of TWRP Recovery. Tap reboot and the system will reboot.
- You will get a message informing you that SuperSu is missing on your device and it will also ask if you want to install it.
- Swipe from left to right to install SuperSu.
- Reboot your LG G3.
Have you rooted and installed TWRP Recovery on your LG G3?
Share your experience in the comments box below.
JR
[embedyt] https://www.youtube.com/watch?v=sDG_ftTtU8g[/embedyt]


