Root and Install CWM/TWRP On Sony’s Xperia Z Ultra
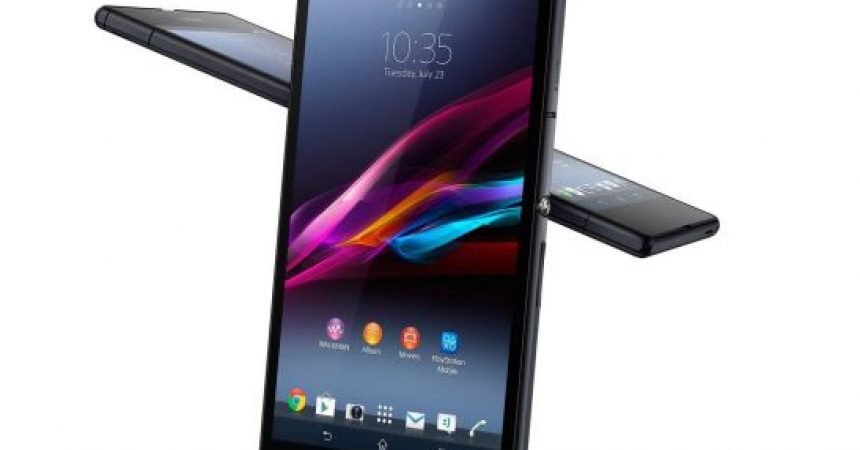
There is a new update with build number 14.6.A.1.216 for the Xperia Z Ultra. This update fixes the Stagefright vulnerability.
If you install this update and you previously had root access, you will find that you have lost it. In this guide, were going to show you how you can gain root access after installing the update. We’re also going to show you how you can install TWRP/CWM custom recovery.
Prepare your phone:
- This guide should only be used with a Xperia Z Ultra C6802, Z Ultra C6806 and Z Ultra C6833 Make sure your phone is one of these by going to Settings> About Device and checking the model number.
- Charge phone to have al least over 60 percent of the battery available to ensure you don’t run out of power before the process ends.
- Back up SMS messages, call logs and contacts. Back up important media content by copying them manually to a PC or laptop.
- Enable USB debugging by first going to Settings>About Device. In About Device, look for the build number. Tap the build number 7 times to activate Developer Options. Go back to Settings and then click Developer Options>Enable USB debugging.
- Install and set up Sony Flashtool on your device. After installing, open the Flashtool folder. Open Flashtool> Drivers> Flashtool-drivers.exe. Install the drivers: Flashtool, Fastboot, Xperia Z Ultra.
- Have an original data cable to connect your phone and a PC.
Note: The methods needed to flash custom recoveries, roms and to root your phone can result in bricking your device. Rooting your device will also void the warranty and it will no longer be eligible for free device services from manufacturers or warranty providers. Be responsible and keep these in mind before you decide to proceed on your own responsibility. In case a mishap occurs, we or the device manufacturers should never be held responsible.
Root:
- Downgrade back to .108 firmware
- If your device was already updated to Android 5.1.1 Lollipop, downgrade it to KitKat OS first and root it.
- Install .108 firmware
- Install XZ Dual Recovery.
- Download the latest installer for Xperia Z Ultra (ZU-lockeddualrecovery2.8.10-RELEASE.installer.zip
- Connect the phone to the PC and then run install.bat to install the custom recovery.
- Make a Pre-rooted flashable firmware.
- Downloadthe 6.A.1.216 FTF specific to your device and place it anywhere on PC.
- Download ZU-lockeddualrecovery2.8.x-RELEASE.flashable.zip
- Create a pre-rooted firmware and copy it to the internal storage of your phone.
- Root and Install
- Turn off the phone.
- Turn it back on and press volume up and down repeatedly until you enter custom recovery.
- Click install and find the folder in which you placed the flashable zip
- Tap to install
- Reboot phone.
- Check that SuperSu is in the app drawer
Have you rooted and installed a custom recovery on your Z Ultra?
Share your experience in the comments box below.
JR
[embedyt] https://www.youtube.com/watch?v=4QkTp7cqn3c[/embedyt]


