Firmware on Locked Bootloader
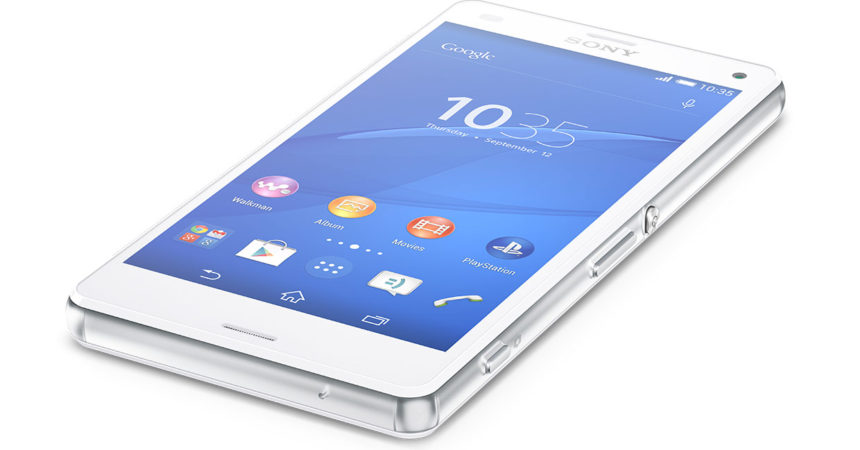
The Sony Xperia Z3 Compact was released in 2014 and is known as a good mix of features and size. Here are the phone’s specifications:
- 7-inch screen
- QualcommSnapdragon 801 CPU
- Adreno 330 GPU
- 2 GB RAM
- Android 4.4 KitKat operating system
- 2,600 mAh battery capacity
- 7 mp rear camera and 2 mp front camera
- 16 GB internal storage and a slot for an SD card
Providing root access to the Xperia Z3 Compact is a great way to enhance the phone’s capabilities and to provide several customizations for it. This article will help you to root your Sony Xperia Z3 Compact D5803 with 23.0.1.2.293 firmware and a locked bootloader using the root tool called giefroot. Before proceeding, read the following notes and requirements to successfully accomplish the root process:
- This step by step guide will only work on Sony Xperia Z3 Compact D5803 running on the 23.0.1.2.293 firmware. If you are not sure about your device model, you may check it by going to your Settings menu and clicking ‘About Phone’. Using this guide for another device model may cause bricking, so if you are not a Xperia Z3 Compact D5803 user, do not proceed.
- Use only your phone’s OEM data cable so that that the connection is stable. Also, disconnect other USB devices to avoid encountering connection problems
- Disable any active antivirus software as well as your firewall settings
- Allow USB debugging on your Xperia Z3 by going to your Settings menu, clicking ‘About Device’, and clicking the build number seven times to enable Developer Options. Click Developer Options and allow USB debugging
- In Developer Options, also allow Mockup Locations
- Install Android ADB and Fastboot drivers
Step by step guide to provide root access to Sony Xperia Z3 Compact D5803 with a locked bootloader:
- Download the giefroot tool. An alternative source can be found here
- Extract the folder
- Put your device on Flight Mode / Airplane Mode
- Using your OEM data cable, connect your Xperia Z3 to your computer or laptop
- Open the extracted folder and allow Install.bat to run
- Just do the instructions displayed on your screen
- Remove your OEM data cable once the process has been completed
That’s it! You can look for SuperSu in your app drawer and enjoy customizing your rooted Xperia Z3.
If you have additional questions about this easy step by step process, do not hesitate to ask through the comments section below.
SC
[embedyt] https://www.youtube.com/watch?v=J3QlZygFID0[/embedyt]
