The Sony Xperia’s Ultra Stamina Mode
You can modify the battery of your Sony Xperia to suit your needs using this simple yet very useful mod.
Sony Xperia devices are best known to have the best battery life. And this is something that other manufacturers do not have.
Xperia devices have built-in Stamina features. This feature assists the device in managing its activities especially when the device’s screen is switched off. This is the distinct characteristic which Xperia devices have that others don’t have. And now, with an even better performance, comes the Ultra Stamina mode.
Ultra Stamina comes in handy when no charger is around and it might take a long time before you get your device charged. It works by limiting the activities on your device to a few vital activities like messaging, phone and other offline apps. Activities that include using mobile data and Wi-Fi are switched off.
This feature is extremely helpful especially when you are completely drawn out. But if you want to add more functionality than just messaging and phoning, a hack from XDA Forum developer androidexpert35 was created, taking the core of Ultra Stamina mode to add more features without risking your battery’s life.
This tutorial was first featured in the 53rd issue of Android Magazine.
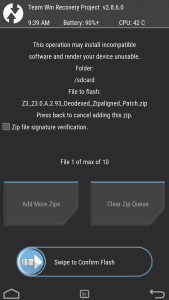
- Use Deodexed ROM
ROMs are normally odexed, meaning there is a certain amount where the core files’ integrity are checked and should the files be modified, the device will refuse to boot. You will need a deodexed stock or a custom ROM flashed to your device. You can find out more at XDA forums.
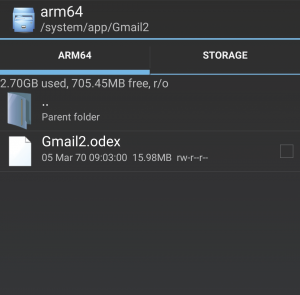
- Check Addicted ROM
To check whether the ROM is odexed or not, just take a look at the /system/app directory in the file explorer. You will know that the ROM is not odexed if you only see the APK file. Odexed ROM, on the other hand, are files that contain .dex or .oat. When you see them, you might need to flash another ROM.
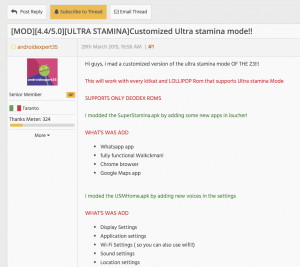
- Download MOD
You can then download the modification after flashing a custom recovery together with the deodexed ROM. There are two varieties of links. Which one to use depends on whether your device has a KitKat or Lollipop ROM.
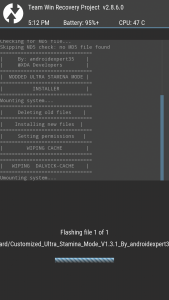
- Use TWRP To Flash
Once download has completed, the zip should be placed on an SD Card or the file should be pushed to the device via ADB. Reboot then to recovery via ‘adb reboot recovery’ or with the use of an app such as Quick Boot. All of which can be downloaded from Play Store. After running back up, install the ZIP. You may use the menus to navigate.
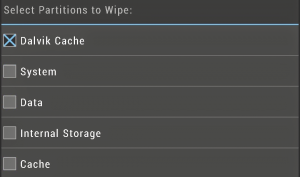
- Wipe Dalvik Cache
The Dalvik Cache in your device needs to be wiped out before rebooting to make sure that the system on boot picked up the modified code. Carefully, select the ‘dalvik-cache’ option from the wipe menu of TWRP. You can now begin.
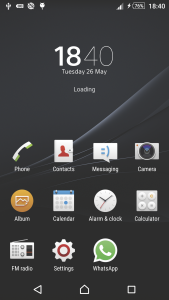
- Use The New Stamina Launcher
Once the SuperStamina.apk file has been modified, an updated launcher comes with it. It links up Walkman app, to WhatsApp application, Google Maps apps and Chrome Browser. These become evidences of an improved experience using Ultra Stamina mode.
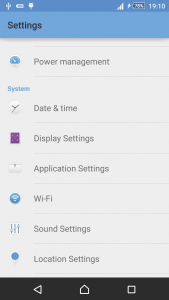
- Customizing New Settings
Once the USMHome.apk files are also modified, the settings feature which cannot be altered before can now be accessed. These features include the display, Wi-Fi, sound and location settings as well as the application. Slight changes maybe visible however Wi-Fi can lower a great deal of your device’s battery life.
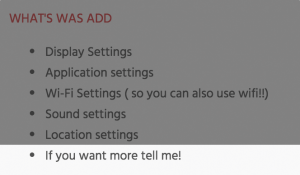
- New Features Requested
Androidexpert35 is the creator of the Ultra Stamina mode modification. He still regularly visits XDA forums and he is willing to share ideas with other users.
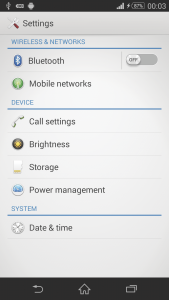
- Restore Stock Settings
As soon as you download the modification ZIP installer, a restore tool known as USM_Restorer.zip is also included. This can restore stock functionality to revert to the original files. But this needs to be flashed also with the use of TWRP.
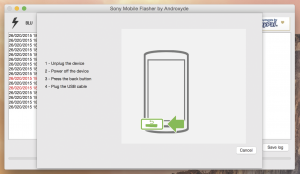
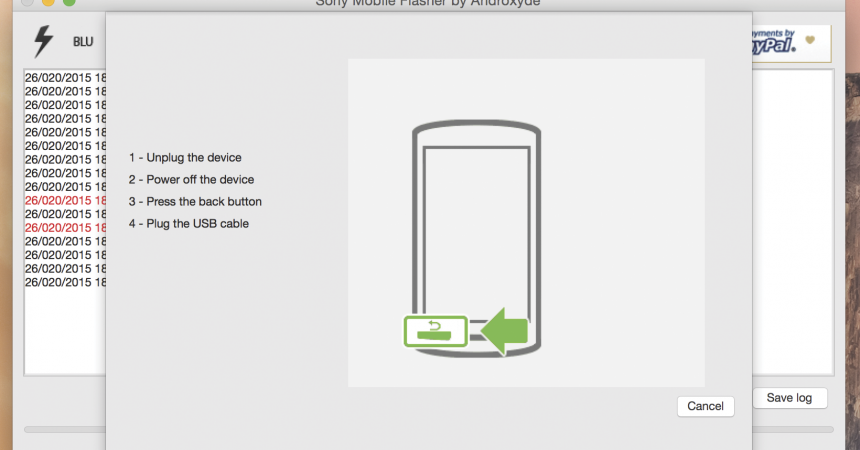
- ROM Reflashing
Use the Flashtool to flash stock FTF file. This will allow your device to return to its default state with the recovery image in it. You can download the appropriate FTF for your device via the XperiFirm tool. This allows you to download from Sony’s servers directly.
Share to us your experience by commenting in the section below.
EP
[embedyt] https://www.youtube.com/watch?v=_ETbH13kqL8[/embedyt]

![How-To: Root The Sony Xperia Z1 C6902/C6903/C6906/C6943 14.4.A.0.108 Firmware [Locked Bootloader] How-To: Root The Sony Xperia Z1 C6902/C6903/C6906/C6943 14.4.A.0.108 Firmware [Locked Bootloader]](https://www.android1pro.com/wp-content/uploads/2015/08/a1-115-270x225.jpg)


