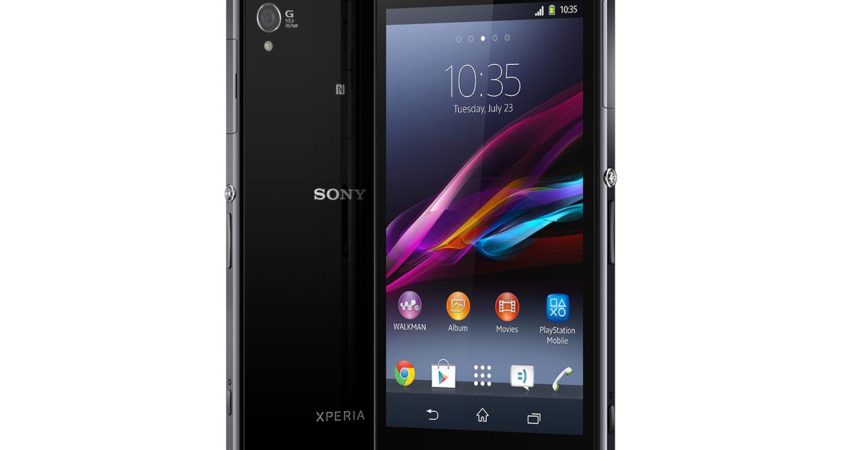
Xperia Z1 C6902
Sony has announced plans to update many of their devices to Android 4.3 Jellybean. This update brings new features, bug fixes and performance enhancements to Sony’s devices. `
Sony’s latest flagship, the Xperia Z1 C6902, ran on Android 4.2.2 Jelly Bean right out of the box but is now getting this update to Android 4.3 Jelly Bean. As is usually the case with updates from Sony, this update is hitting different regions at different times. If the update to Android 4.3 Jelly Bean has not yet hit your region, you have two courses of action. The first course of action would be to wait, while the second course of action would be to manually install the update.
In this post, we’re going to show you how you can manually update an Xperia Z1 model C6902 to Android 4.3 Jelly Bean. Follow along.
Prepare your phone
- This guide is only for a Xperia Z1 C6902. Use this with other devices and you could end up with a bricked device. Check device’s model number by going to Settings>About Device.
- Install and setup Sony Flashtool on your device.
- After Sony Flashtool has been installed, open Flashtool folder. Then open Flashtool> Drivers> Flashtool-drivers.exe. Install: Flashtool, Fastboot, and Xperia Z1 C6902 Drivers.
- Charge your phone to at least over 60 percent to prevent running out of power before the process is done.
- Enable USB debugging mode on your phone. Go to Settings> Developer Options> USB debugging. If you can’t find developer options in your settings, you will need to activate them by going to Settings>About Device and looking for your phone’s build number. Tap build number 7 times. Go back to settings; developer options should now be available.
- Back up important contacts, SMS messages, and call logs. Back up important media files by copying them to a PC or Laptop.
- You will need root access to flash this firmware. If you haven’t already rooted your device, do so.
- Your phone should already be running Android 4.2.2 Jelly Bean. If it has not already been updated, update it first.
- Have an OEM data cable to make the connection between your device and your PC
Note: The methods needed to flash custom recoveries, ROMs and to root your phone can result in bricking your device. Rooting your device will also void the warranty and it will no longer be eligible for free device services from manufacturers or warranty providers. Be responsible and keep these in mind before you decide to proceed on your own responsibility. In case a mishap occurs, we or the device manufacturers should never be held responsible.
Download:
Install:
- After downloading the firmware file, copy and paste it to Flashtool> Firmware folder.
- Open Flashtool. You should see a small lightning button on Flashtool’s top left corner. Hit the button and then select Flashmode.
- Select your downloaded firmware file.
- On the right side, you will see a list of wipe options. We recommend that you choose to wipe data, cache, and the apps log.
- Click ok and the firmware will begin preparing for flashing. This could take a while.
- When the firmware has been loaded, you will be prompted to attach your phone to your PC.
- Turn off your phone and press the volume down button. Keeping the volume down pressed, plug in the data cable and connect your phone and the PC.
- Your phone should automatically be detected in Flash mode and the firmware will begin flashing. NOTE: Keep your volume down button pressed the entire time.
- When you see Flashing ended or Flashing finished, you can let go of the volume down. Unplug your data cable.
- Reboot your phone.
Have you installed Android 4.3 Jelly Bean on your Xperia Z1 C6902?
Share your experience in the comments box below.
JR

![How-To: Update Sony Xperia L C2104/C2105 To Android 4.2.2 [15.3.A.0.26] Official Firmware How-To: Update Sony Xperia L C2104/C2105 To Android 4.2.2 [15.3.A.0.26] Official Firmware](https://www.android1pro.com/wp-content/uploads/2013/11/a1-270x225.gif)


