Know How To Fix This Problem Facing Android
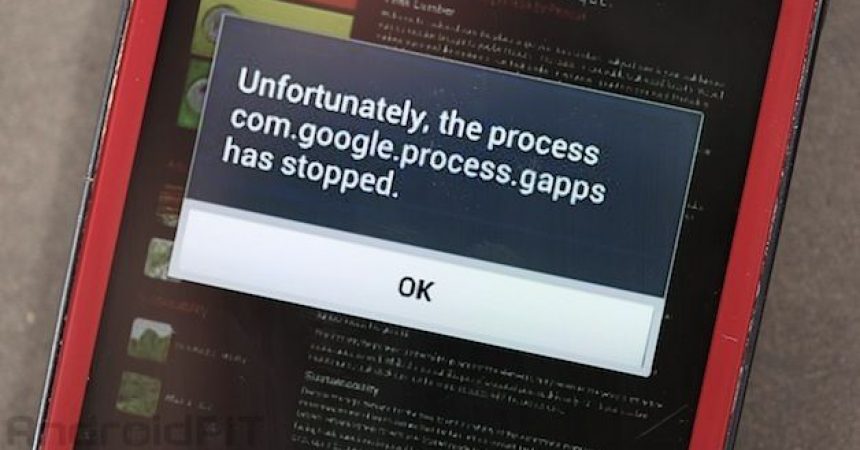
We have been posting a lot of solutions to problems facing Android users and today, we’re going to help you solve another common and famous issue on Android. The issue that we are referring to is when you get the message that “the processcom.google.process.gapps has stopped” or that “com.google.process.gapps has stopped unexpectedly“.
The process.com.google.process.gapps stopping problem is a common one that faces users of many devices – from the Nexus 6 to the Samsung Galaxy, all Android devices have been recorded to have this problem.
If you are one of those who have faced this problem in your device, we have three solutions that you can try to apply to your device to fix it. Choose one and follow along until you find the solution that works for you.
Fix Unfortunately the process com.google.process.gapps has stopped:
Solution # 1
Step 1: The first thing you have to do is ensure that you have the latest Google Apps. If you don’t download and install it.
Step 2: Next, check what particular App is the cause of this issue.
Step 3: When you have found the problematic app go to settings.
Step 4: From settings, tap on Applications.
Step 5: From the list of apps, tap on the problematic app.
Step 6: Now, tap on clear cache. Then follow the steps below:
Settings>Apps>All> Scroll down to G’s until you find the first thing that has Google in the name. Click on it and then hit “Clear Data”. Repeat the process for everything that has Google in its name and is on the list. Afterwards, sign back into your Google account.
Solution # 2
Step 1: First, go to and open Settings on your phone.
Step 2: Then, from the list presented in settings, tap on Application Manager
Step 3: Tap on the problematic app to select it.
Step 4: Tap on Uninstall.
Step 5: Wait for the app to uninstall.
Step 6: When the app has been uninstalled, re-install it. It should now run without causing the issue.
Solution # 3.
Step 1: First, go to and open Settings on your phone.
Step 2: Then, from the list presented in settings, tap on Application Manager
Step 3: When in the application tap, swipe to the left.
Step 4: You should now have been brought to the All Application tab.
Step 5: Tap on Download Manager
Step 6: Tap on disable.
Step 7: Wait for few seconds and then Enable it.
Have you used any of these solutions to solve this issue?
Share your experience in the comments box below.
JR
[embedyt] https://www.youtube.com/watch?v=PaxdpsovLzw[/embedyt]


Hi, I already use all of the solutions.
But it’s still pop up on my phone.
Please help. Thanks.
carefully follow the easy step by step guide above.
This should work !
Hi cannot get into apps as it keeps saying launcher has stopped etc
You should be able to get into apps.
Carefully follow the easy step by step guide above
tak ja sa do žiadnych nastavení ani nedostanem, zadám pin a automaticky mi dá túto hlášku a nepohnem sa ďalej, viete mi s tým pomôcť prosím?
Stanka
Simply carefully re-apply the steps in above guide as this should work.
Na mom LG se ne vide ni postavke telefona. Vidljivo je samo slusalica (za pozive), kontakti , poruke i preuzeti viber.Kako da nesto popravim, deinstaliram i instaliram, kada nemam pristupa aplikacijama ?
You should be able to reset and start over the process.
This should work on LG!
Ja, ich hatte den gleichen genauen Fehler auf meinem Android-Handy. Jetzt ist es endlich behoben.
Vielen Dank
Vielen Dank für die einfache Schritt-für-Schritt-Anleitung.
Sure,you are welcome.
Why not share it with friends and colleagues now!
Jetzt habe ich es endlich.
Danke dir.
Es funktionierte. Ich werde es teilen, sehr dankbar.
Und wenn beim Installieren einer neuen Firmware mit Flash-Tools diese Meldung über dem “Wir begrüßen Sie” angezeigt wird, wird bestätigt, dass es so funktioniert, wie es sollte.
Danke schön