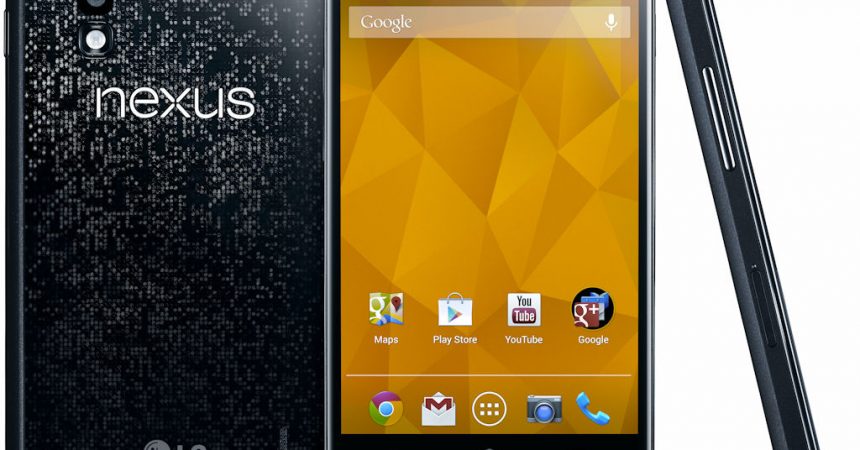
The Google Nexus 4
Google released a preview at the I/O developer conference of their Android L. Though it’s just a preview, it seems like a nice piece of firmware with a number of great enhancements, including battery and security improvements and a new UI design.
In this guide, we’re going to show you how you can update a Google Nexus 4 with and Android L developer preview. Before we go ahead, let us just remind you that this is not the final version that Google has released, as such it may not be that stable and could have a number of bugs. We recommend that you be prepared to switch back to your previous firmware by using a Nandroid backup of flashing stock image.
Prepare your phone:
- This guide is only for use with a Google Nexus 4. Check your device model by going to Settings> About Device>Model
- Have a custom recovery installed.
- Have Google USB drivers installed.
- Enable USB debugging. Go to Settings>About Device, you will see your devices build number. Tap the build number 7 times and this will enable your device’s developer options. Now, go to Settings>Developer Options>USB debugging>Enable.
- Charge your battery to at least over 60 percent.
- Back up all your important media content, messages, contacts and call logs.
- If your device is rooted, use Titanium Backup on your important applications and system data.
Note: The methods needed to flash custom recoveries, roms and to root your phone can result in bricking your device. Rooting your device will also void the warranty and it will no longer be eligible for free device services from manufacturers or warranty providers. Be responsible and keep these in mind before you decide to proceed on your own responsibility. In case a mishap occurs we or the device manufacturers should never be held responsible.
To Install Android L On Nexus 4:
- Download the Android L Firmware.zip file: lpv-79-mako-port-beta-2.zip
- Connect the Nexus 4 to your PC now
- Copy the downloaded .zip file to your device.
- Disconnect your device and then turn it off.
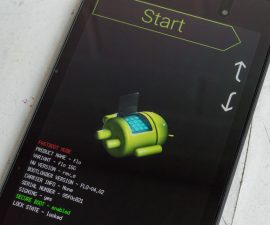
- Boot your device into Fastboot mode by pressing and holding the volume down and power key till it turns back on.
- In fastboot mode, you use the volume keys to move between options and make a selection by pressing the Power Key.
- Now, select “Recovery mode”.
- In recovery mode select “Wipe Factory Data/Reset”
- Confirm wipe.
- Go to “mounts and storage”
- Select “format/system” and confirm.
- Select recovery mode again and from there, select “Install Zip > Choose Zip from SD card > locate lpv-79-mako-port-beta-2.zip > confirm flash “.
- Press the power key and Android L Preview will flash on your Nexus 4.
- When flashing is completed wipe cache from recovery and dalvik cache from advanced options.
- Select “reboot system now”.
- The first boot could take up to 10 minutes, just wait. When your device reboots, Android L will be running on your Nexus 4.
Have you got Android L on your Nexus 4?
Share your experience in the comments box below.
JR
[embedyt] https://www.youtube.com/watch?v=XNtN3Oi5tY0[/embedyt]


