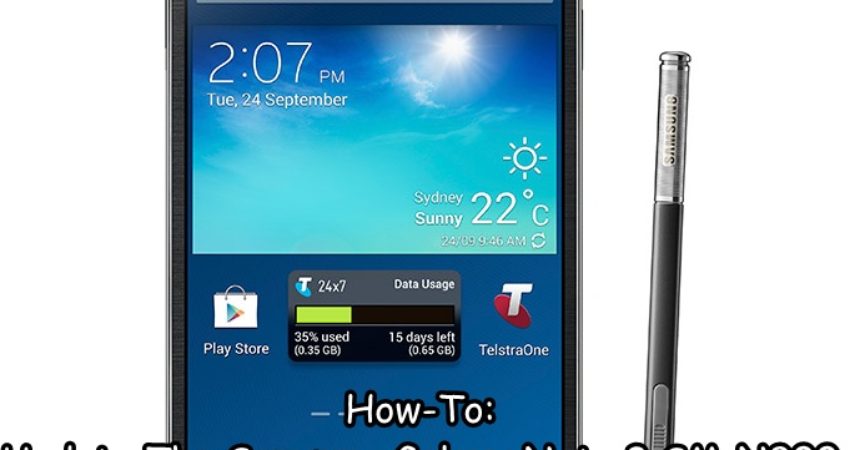
Update The Samsung Galaxy Note 3
Samsung has begun rolling out and update to Android 5.0 Lollipop for Galaxy Note 3 SM-N900 users in Russia. The update has improved the device’s performance over-all. Android 5.0 Lollipop in the Galaxy Note 3 promises better battery life also. The update also has features from the Galaxy Note 4. While the firmware is currently available for Russian users through Samsung Kies or OTA updates or Samsung Kies, region is not a restriction as you can actually update your device outside the Russian region by using Samsung’s flashtool Odin3.
In this guide, we are going to show you how to install or update Android 5.0 Lollipop XXUEBOA6 official firmware on the Exynos Galaxy Note 3SM-N900. This firmware won’t void your phone’s warranty and is safe to flash.
Early Preparations
- Remember, the guide is only for use with the Galaxy Note 3 SM-N900
- To check what device you have:
- Settings > More/General > About Device
- Settings > About Device
- Match the model number.
- If you use this guide on another device, it could brick the device.
- To check what device you have:
- Battery life should be to at least 60 percent.
- If your device does dead before the flashing process ends, you could brick the device.
- Have an OEM data cable
- You need an original data cable to establish a connection between your device and a computer or laptop.
- Ordinary data cables could interrupt the flashing process
- Back up everything
- SMS Messages
- Call Logs
- Contacts
- Media
- If rooted, back up EFS
- Have Samsung USB drivers installed
- This will enable you to establish a connection between PC and Samsung Device.
- When using Odin3, Turn off Samsung Kies and other software
- .Samsung Kies can interrupt Odin3 and will result in errors
- Turn off antivirus softwares
- Disable firewall.
Note: The methods needed to flash custom recoveries, roms and to root your phone can result in bricking your device. Rooting your device will also void the warranty and it will no longer be eligible for free device services from manufacturers or warranty providers. Be responsible and keep these in mind before you decide to proceed on your own responsibility. In case a mishap occurs, we or the device manufacturers should never be held responsible.
Download and Install:
- Odin3 v3.09.
- firmware file to get the .tar.md5 file
- SER-N900XXUEBOA6-2015012815…zip here
Update Samsung Galaxy Note 3 SM-N900 To Android 5.0 Lollipop [Official Firmware]
- Wipe your device so you get a neat installation.
- Boot into recovery mode then perform a factory data reset.
- Open Odin3.exe.
- Put SM-N900 in download mode.
- Turn off and wait 10 seconds.
- Turn on by pressing and holding the Volume, Home, Power buttons simultaneously
- When you see a warning, press Volume Up
- Connect device to PC.
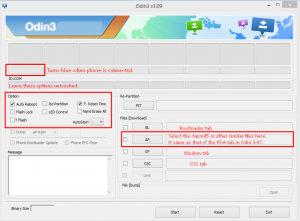
- When detects the phone, ID:COM box should turn blue.
- Make sure Samsung USB drivers have been installed before connecting.
- If you’re using Odin 3.09, select the AP tab. From there, select firmware.tar.md5 or firmware.tar, and extract.
- However, if what you’re using is Odin 3.07, select the PDA tab instead of AP tab. The rest of the options should remain untouched.
- The options selected in your Odin should match what you see in this photo:

- Hit start. Wait till the firmware completes flashing. You can tell because the flashing process box will turn green.
- When flashing has been completed, disconnect device and reboot it manually by pulling out the battery, placing it back and the turning the device on.
If you followed our guide correctly, your device should now be running official Android 5.0 Lollipop firmware.
Have you updated to Android 5.0 Lollipop? How did you do it?
Share your experience with us.
JR
[embedyt] https://www.youtube.com/watch?v=DdDgaqsYrRs[/embedyt]


is that match for snapdragon . galaxy note 3 sm n900……..please help me
Yes it should normally work.