How To Prepare Device For Android OTA Updates
Here are tips to remember to prepare your hacked Android for OTA upgrades this season.
When you root your phone, your device gets disqualified from receiving updates. Because of this, it will not be advisable to push installation of OTAs to your modified device. This may put your device at risk.
If you force installation in this state, it will put your device at a non-booting system. For situations like this, the device may reject any update to protect the device.
Fortunately, there is a way to restore your device to its original state should something go wrong.
The process differs between devices and depends on the manufacturer. The steps presented in this tutorial are typical scenarios that happen during the procedure.

-
OTA Compatibility
Check first to see whether the ROM is based on a stock ROM or not. You should wipe your data if the ROM is not stock-based. But if so, you can leave it as it is and proceed.
-
Create a Backup
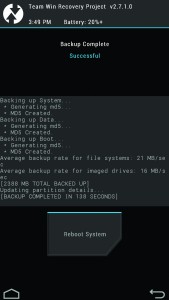
Make sure also that you have a backup of everything that is in your device. If there is a custom recovery, you can utilize this to create a Nandroid backup. Make sure that you completely pull off the backup from the device afterwards. You can restore the app data using Titanium Backup.
-
Keep Root
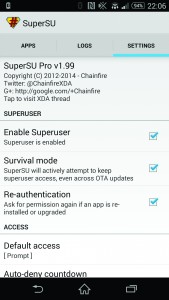
Applying an OTA can lose the root on your device. This happens because it has to be checked and removed and some OTAs may wipe out the system completely and re-flash it. Before moving on, make sure that you check if other users retained theirs.
-
Revert Back
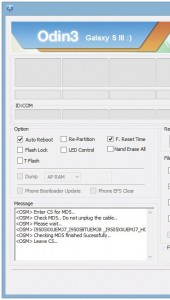
OTAs check system before they install. Update won’t install if systems do not match. When this happens, you may need to flash your boot to stock version or maybe some parts of it so that update may proceed.
-
Stock Recovery
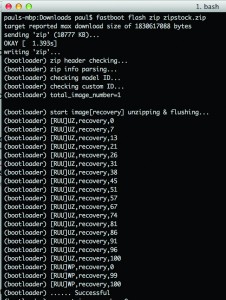
The recovery image applies the update on itself. However, some hacked devices have custom recovery installed in them which prevents OTA updates from being installed. To solve this problem, find the stock recovery image and flash it via dd, fastboot or with the use of a manufacturer tool.
-
Relock Bootloader
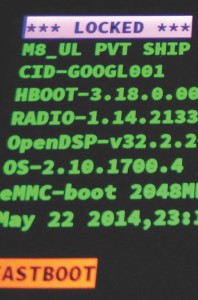
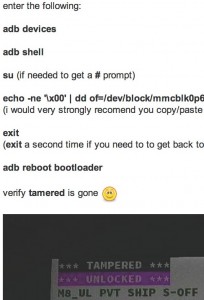
If the bootloader is unlocked, devices may not apply the updates. This prevents users from bricking their devices. Some manufacturers will allow you to relock the bootloader. In some devices like HTC with S-OFF bit, dd command will set the bootloader to factory settings.
-
Remove Flag
Some devices also have tamper flags which indicates that a modification is taking place in the system files. This also prevents downloading of OTA updates. You can remove the tamper flag using a dd command.
-
Apply To OTA
You can then apply the OTA update once you have reverted to the custom system and relocked the bootloader should it be required. Monitor the progress closely should any issues appear.
-
Restore To Backup
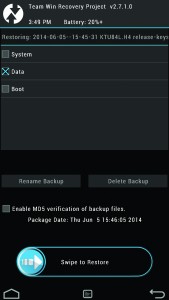
By this time, your device may have booted up successfully. There are some cases, however, when you need to wipe out your device to get the system going again. You will have to restore backup. If you are using a re-flashed recovery or a Nandroid backup, you need to restore only a portion of the data so you won’t risk overwriting the changes.
-
Future Proof
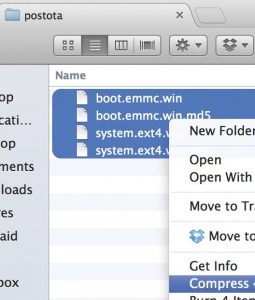
Always run backup for future use so that you can revert back certain partitions to stock state. You can share the backup to fellow users in forums like XDA Developers.
Share your experience with this tutorial by leaving a comment below. EP
[embedyt] https://www.youtube.com/watch?v=gF1KasRo2iY[/embedyt]

![How-To: Update Sony Xperia L C2104/C2105 To Android 4.2.2 [15.3.A.0.26] Official Firmware How-To: Update Sony Xperia L C2104/C2105 To Android 4.2.2 [15.3.A.0.26] Official Firmware](https://www.android1pro.com/wp-content/uploads/2013/11/a1-270x225.gif)


