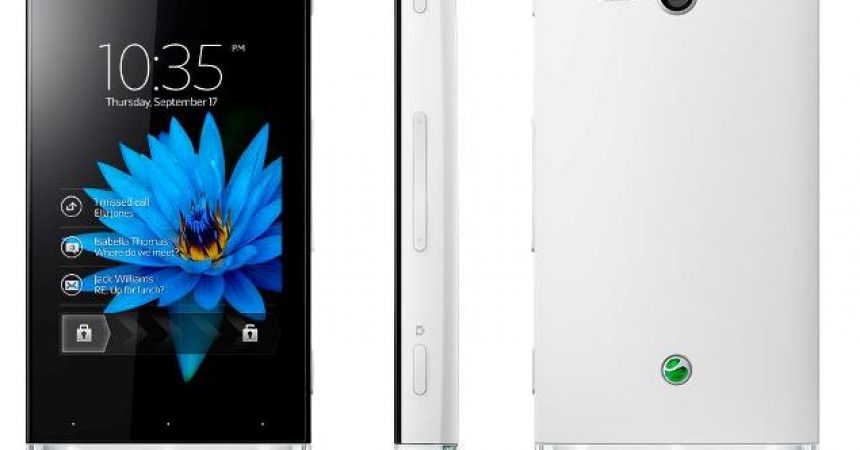
The Sony Xperia U ST25i
This guide will teach you how to bring the custom ROM CyanogenMod 12 to update your Sony Xperia U to Android 5.0.2 Lollipop. Before installing, here are some of the things that you need to know and accomplish first:
- This step by step guide will only work for Sony Xperia U ST25i. If you are not sure about your device model, you may check it by going to your Settings menu and clicking ‘About Device’. Using this guide for another device model may cause bricking, so if you are not an Xperia U user, do not proceed.
- Your remaining battery percentage should not be less than 50 percent. This will prevent you from having power issues while the installation is ongoing, and therefore will prevent soft bricking of your device.
- Backup all of your data and files to avoid losing them, including your contacts, messages, call logs, and media files. This will ensure that you will always have a copy of your data and files. If your device is already rooted, you may use Titanium Backup. If you already have an installed TWRP or CWM custom recovery, you may use Nandroid Backup.
- Install the USB drivers of Xperia U, which can be obtained from the Flashtool installation folder.
- Unlock your device’s bootloader
- Download and install ADB and Fastboot drivers. This is used best for a Windows 7 computer and might encounter some issues on Windows 8 and 8.1.
- Download CyanogenMod 12 Xperia U SY25i Android 5.0.2. Lollipop
- Download Google Apps
Note: The methods needed to flash custom recoveries, ROMs, and to root your phone can result in bricking your device. Rooting your device will also void the warranty and it will no longer be eligible for free device services from manufacturers or warranty providers. Be responsible and keep these in mind before you decide to proceed on your own responsibility. In case a mishap occurs, we or the device manufacturers should never be held responsible.
Step by step installation guide for SlimLP custom ROM on Xperia Sola MT27I:
- Extract the .img file from ROM.zip
- Copy the zip file of ROM and Google Apps to the internal memory of your Xperia U
- Shut down your device and wait 5 seconds before turning it on again while holding the volume up button and connecting the device to your computer or laptop
- You will know that you have successfully connected your device in fastboot mode if the LED stays blue.
- Copy the fike ‘boot.img’ to the Fastboot folder
- Open the Fastboot folder by right clicking the mouse and pressing the Shift button
- Select “Open Command Window Here”
- Type: fastboot devices
- Press the Enter key
- Check that there is only one connected device on Fastboot. Otherwise, disconnect other devices that are connected.
- Check if PC companion is disabled
- Type: fastboot flash boot boot.img
- Press the Enter key
- Type: fastboot rebot
- Press the Enter key
- Enter Recovery Mode while your device is restarting by pressing the power, volume up, and volume down buttons
- Press Install then go to the folder where the zip file “ROM” is stored then install the zip file
- Install Google Apps
- Restart your device
- This is an optional step: Wipe Dalvik Cache and do factory reset
That’s it! If you encounter any issues or have questions regarding the installation process, do not hesitate to ask through the comments section below.
SC


God ettermiddag koblingene jobber takk.