
This tutorial will teach you how to flash a kernel to your device
The kernel is a vital part of any device because it is what connects the hardware to the software.
When you hack an Android device, you will need to also install a custom ROM. This will also change the firmware of the device and can affect the usage. But when the kernel is changed, it can allow the device to cope up with enhancements and the device’s improved performance. Moreover, Android has some Linux influences and is open to tweaks and improvements.
The installation of new kernels can speed up your device by overclocking it. It can also improve battery performance by slowing down the processor when not needed. But before anything else, make sure that you have do backup all your data as installing new kernels may cause damage to the device. If the kernel is not compatible to your ROM, problems may occur.
When this happens, you will need to reboot to recovery and restore everything in the backup. So this tutorial will help you find a kernels, copy it, flash it and explore its features.
Make sure you rooted your device to complete the process.
-
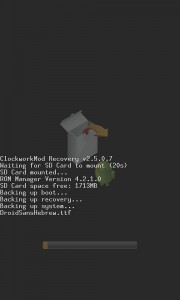
Back Up
Always make sure that you run a backup of all your files and data in the phone or device. Turn off the device and boot it into recovery. You can do this by holding the volume down together with the power button. Go to the Backup/Restore section and select Backup.

-
Kernel Manager
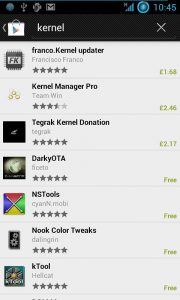
Flashing a new kernel follows the same procedure as you would with a new ROM. But instead of going to the ROM Manage, an app is used for kernels, which is called Kernel Manager. You can also find them in the Play Store. You can choose to use either a paid version or the free one. But for tutorial’s sake, we will use the free version.
-
Use Of The Kernel Manager
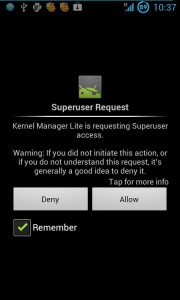
Go to the Kernel Manager and open it. Select the Load Kernel List. Give permission for root privileges. It will display a list of compatible kernels. Features are listed in abbreviation like Overlock, CIFS, HAVS, and much more.

-
Select The Kernel
Choose the kernel of your choice. Most of them support undervolted and overclocking which you will need to speed up or slow down your device’s performance. ‘Download and flash kernel’ of your choice.
-
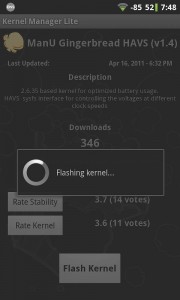
Flashing Kernel
Once you have selected a kernels, it will download the kernels and the flashing will start. When all of these are done, your device will be rebooted. This usually takes long. But once it is booted, you can start exploring features.

-
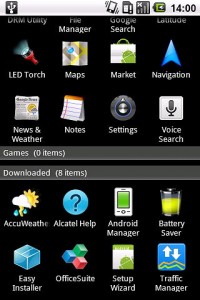
Adjusting The Speed
You can adjust the speed of the CPU with the use of the new kernel. Find SetCPU from the Play Store and download it. Once the download is done, open it and go to the ‘Autodect Speeds Recommended’. Allow rooting and the app will start to organize settings. This process will speed your device up.

-
Underclock
You can adjust Settings in two ways. You can adjust it for maximum speed or minimum speed. To save battery, you can drop the value to a third or so. You can alter this value to the level that suits you.

-
Save Profile
You also can alter the Profiles to meet the speed demands of your device. But it also depends on what state your device is in. For instance, when you device is plugged in, you can set the device to maximum level.
-
Find Other Kernels
There are actually other sources of kernels. You can find new versions or kernels for less popular devices in other sources. You can find them in forums like forum.xda-developers.com.
-
Other Kernel Features
A new kernel has many features. One of which is the CIFS. This is a Samba file sharing protocol that allows the mounting of drives to your LAN. You can find them in the Play Store as well as other features related to kernel.
Share with us your experience by leaving a comment in the section below. Or if you also have questions, leave a comment below. EP
[embedyt] https://www.youtube.com/watch?v=kCBN-_zu5cY[/embedyt]

